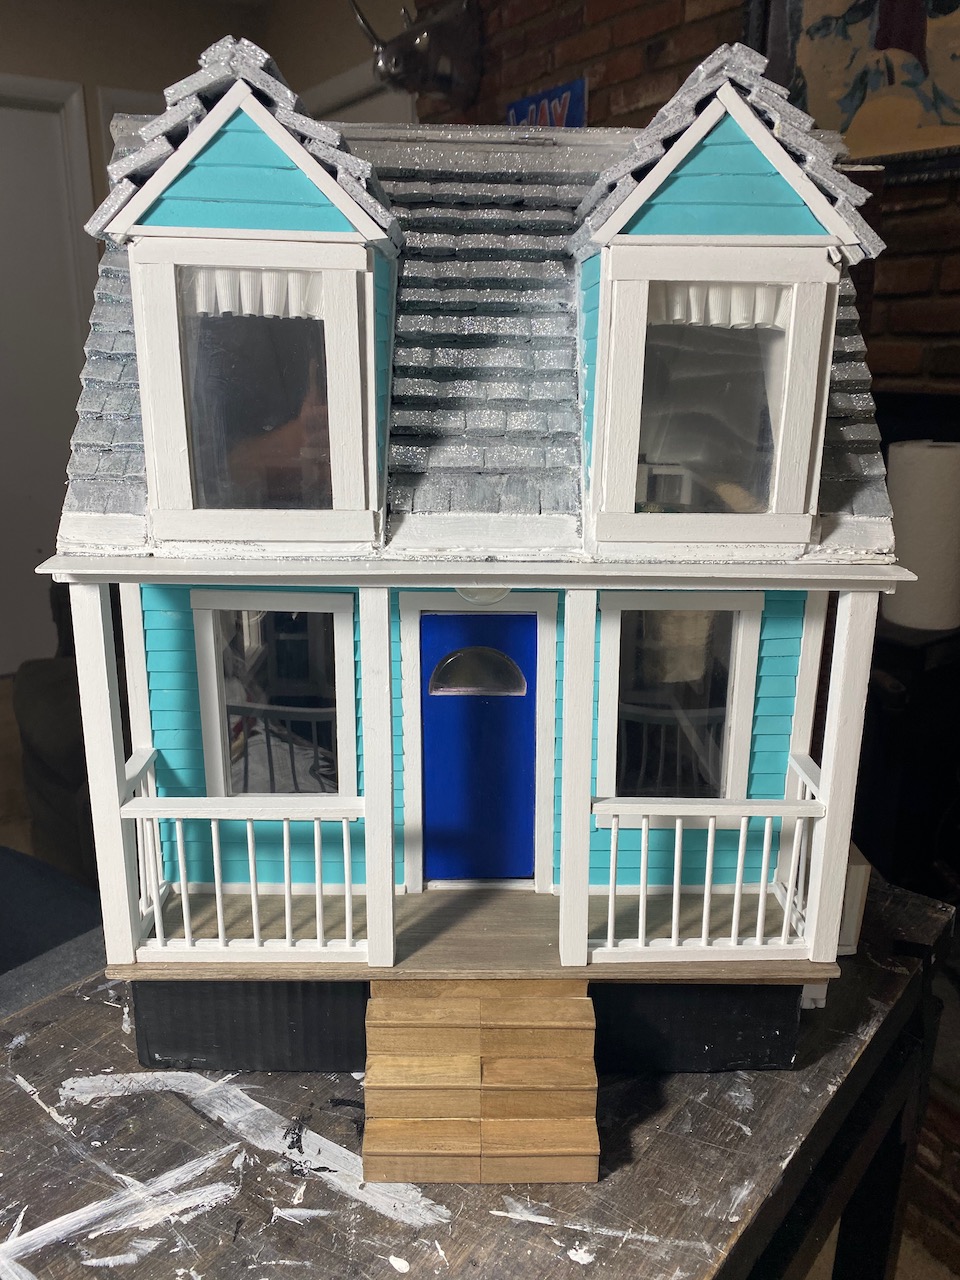
This was the first dollhouse commission where I was given a photo of a house to replicate. The photo showed only the front of the house and I had to use creative license for the interior and back of the house.
I decided that I would go with a greatly simplified interior and over time I began to think of this build as a hybrid dollhouse / room box.
This lets me focus on the details of the exterior, the interior walls, floor, and trim, and then add details to create a cozy and open space.
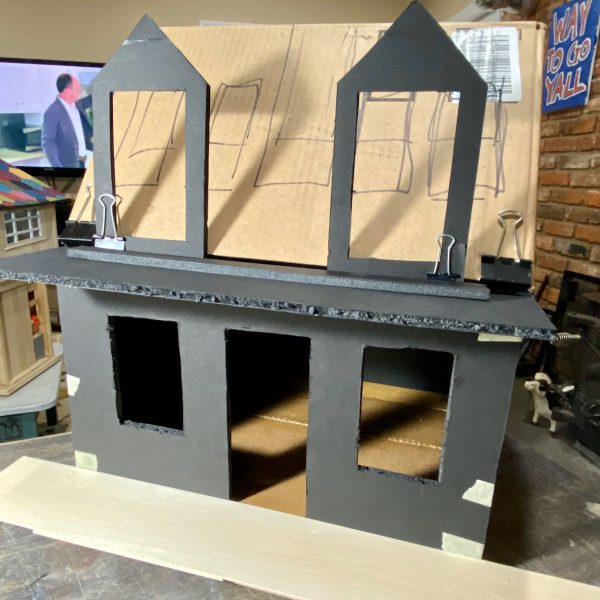
As with most dollhouses, I start with cardboard and foam project board, and roughly lay out the house.
One thing I did different from other builds: the floor, walls, and roof were separate units that were not permanently attached until late in the process.
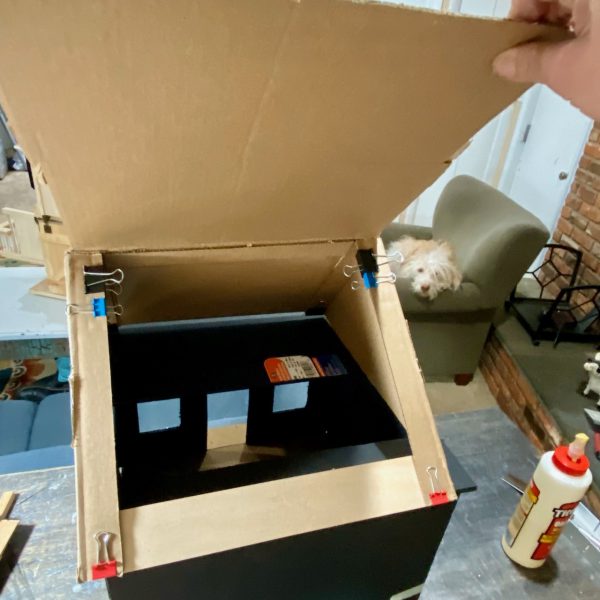
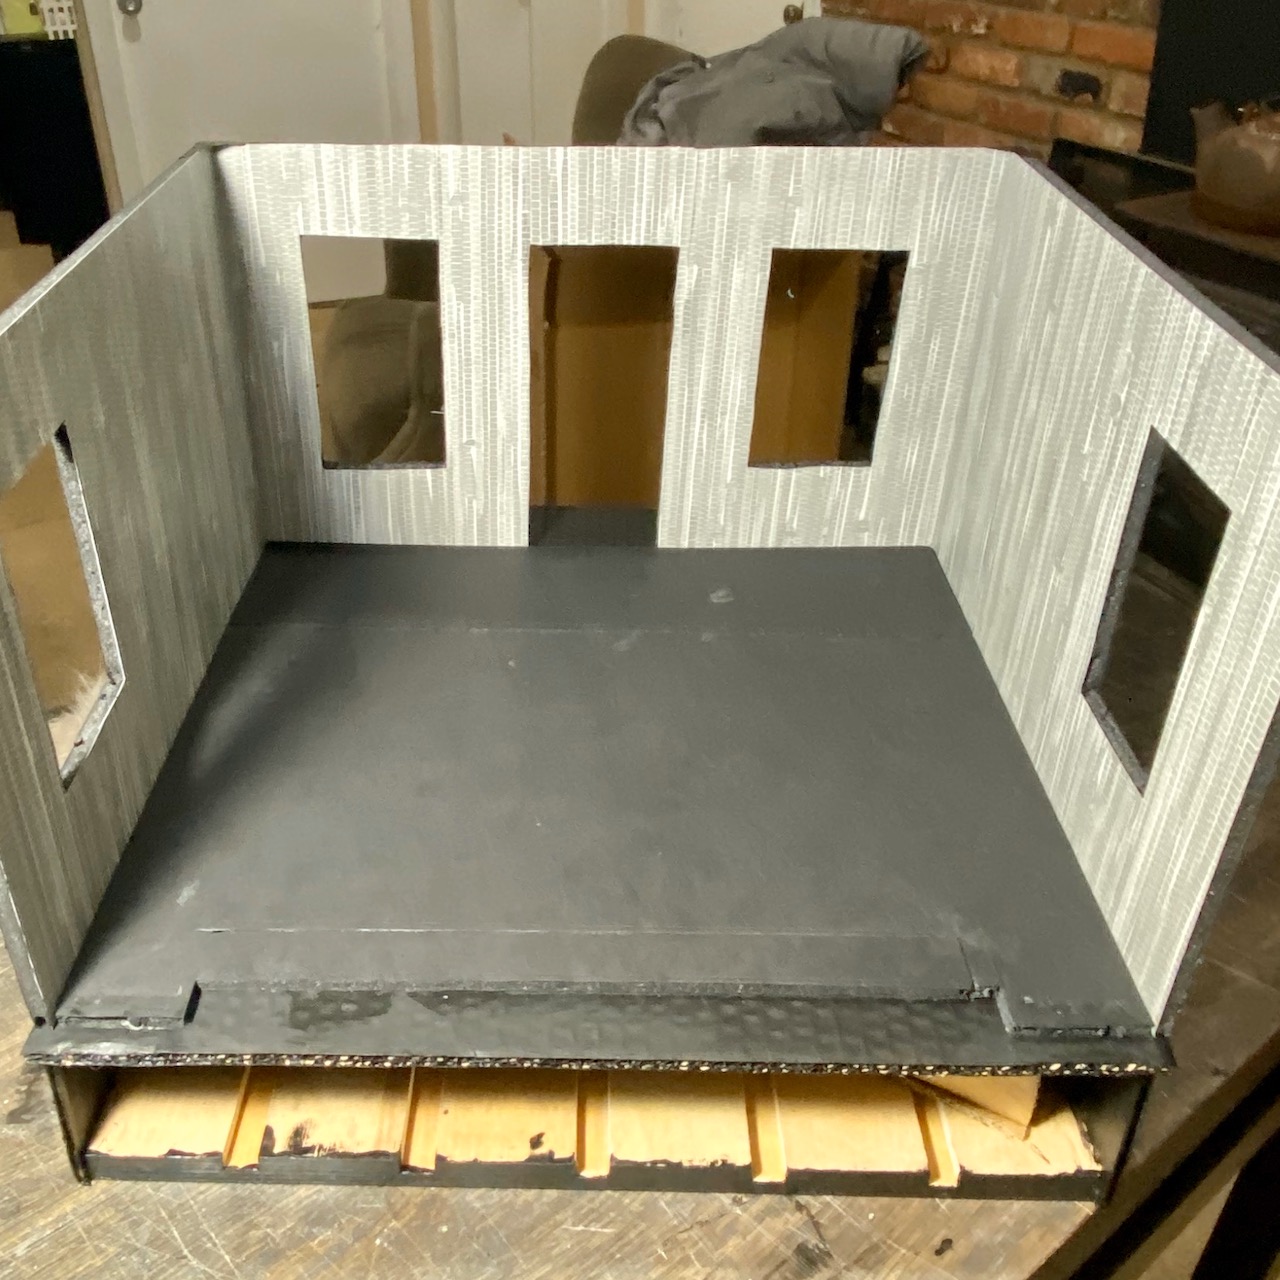
This makes interior details much easier to install or change at any point until the components are permanently attached to each other.
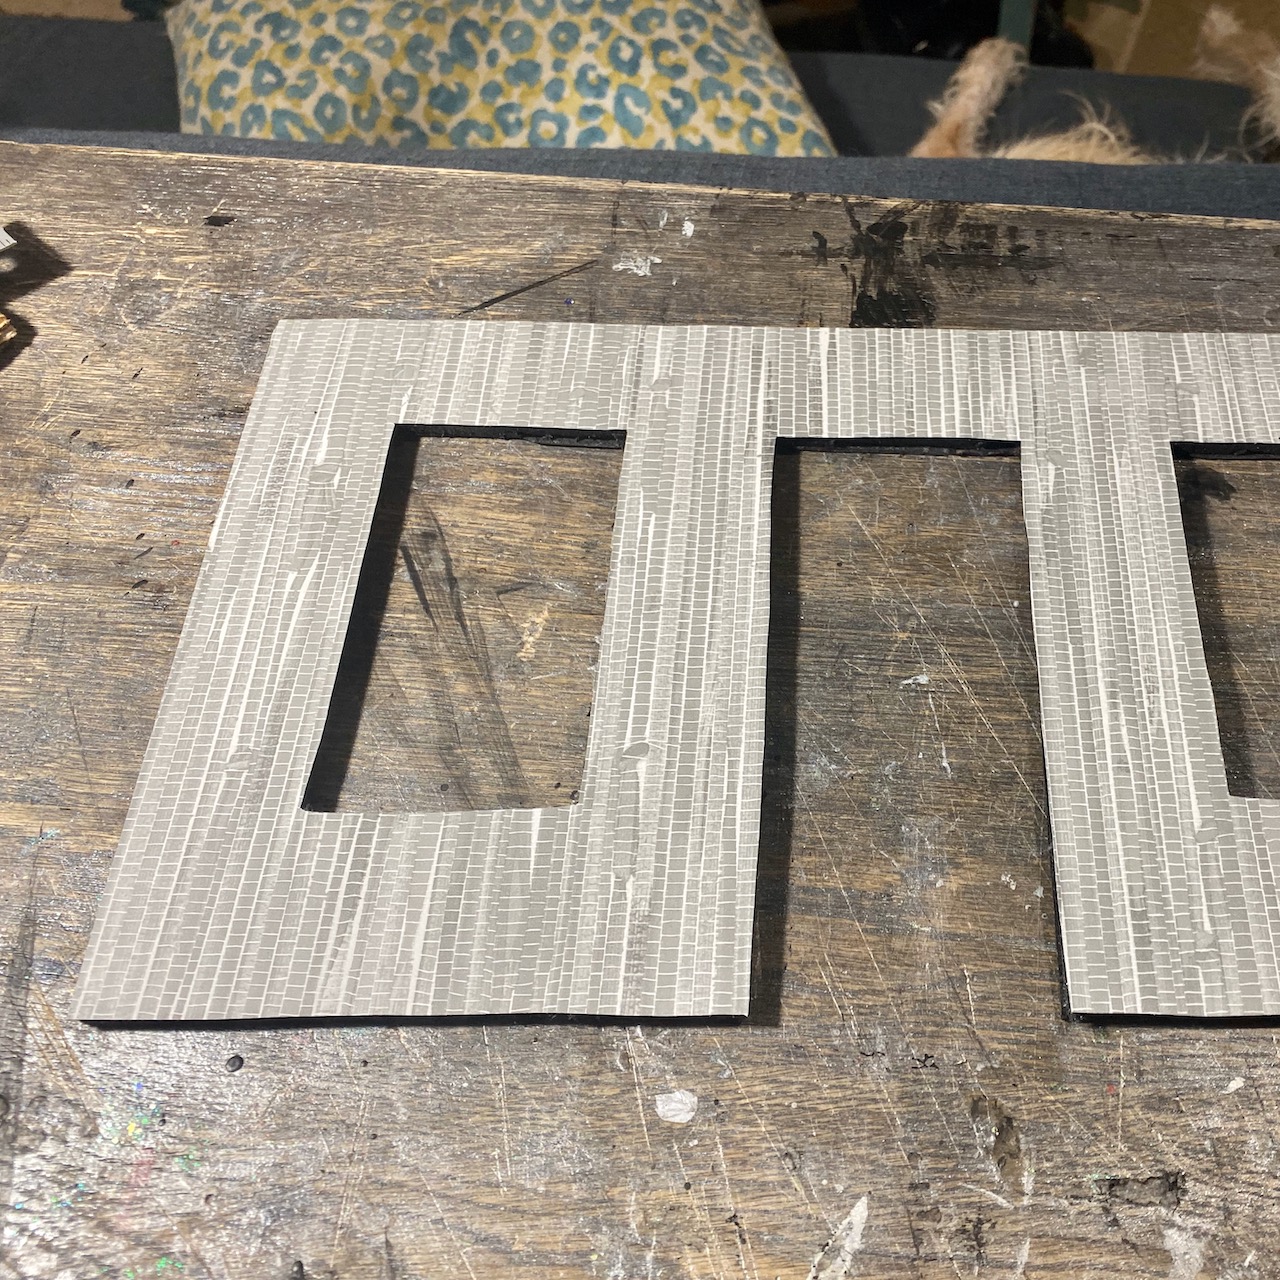
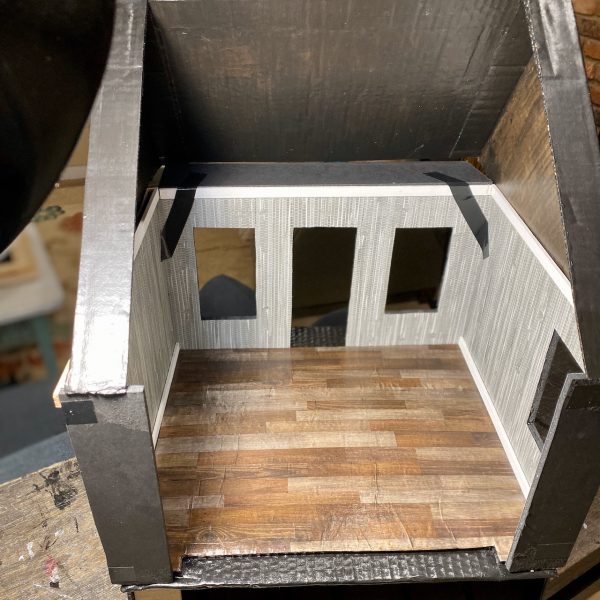
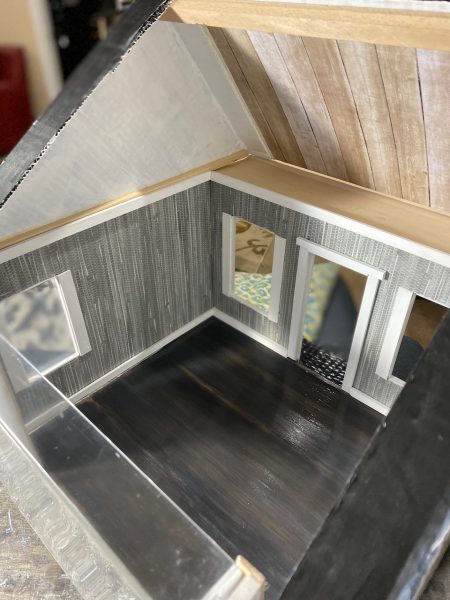
I paper the walls using a peel-and-stick wallpaper I found on clearance at a local big box hardware store (essentially, it’s contact paper). The small pattern and neutral gray works well in many contexts. I dry fit the walls at each step.
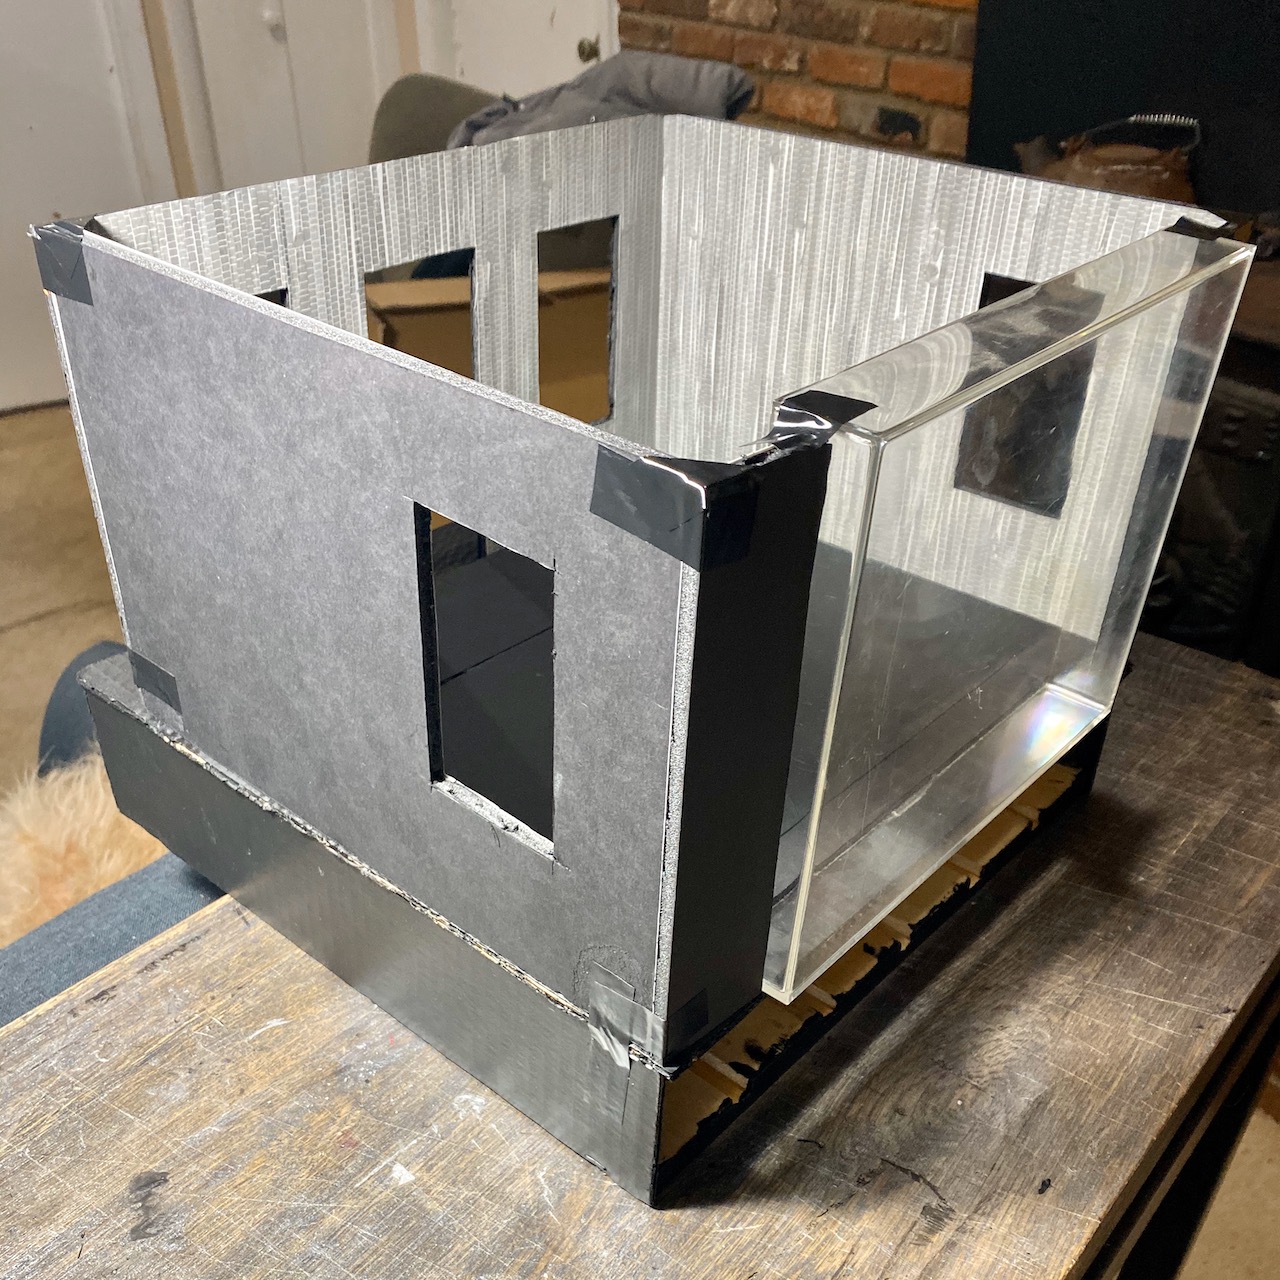
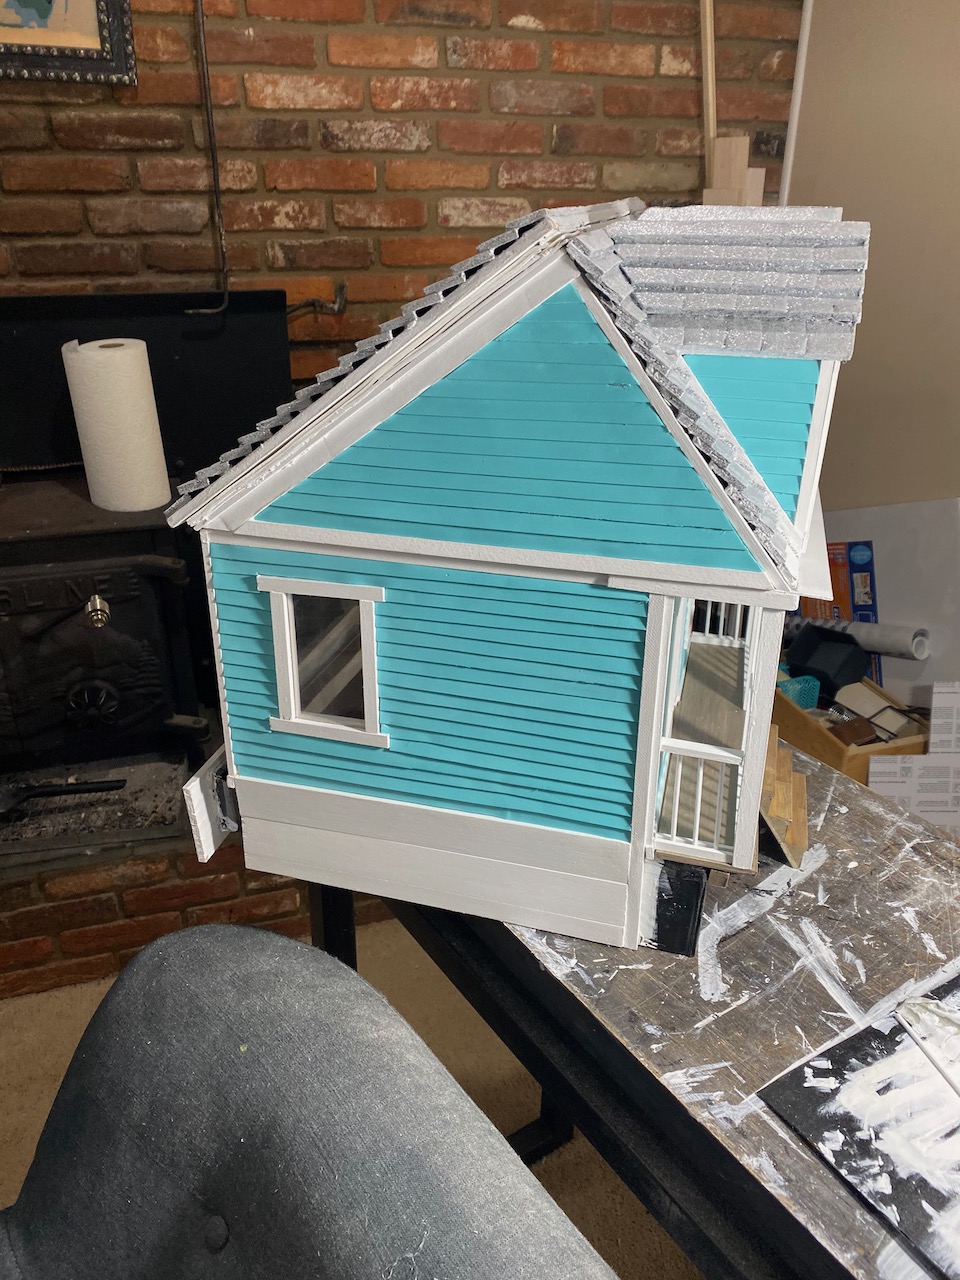
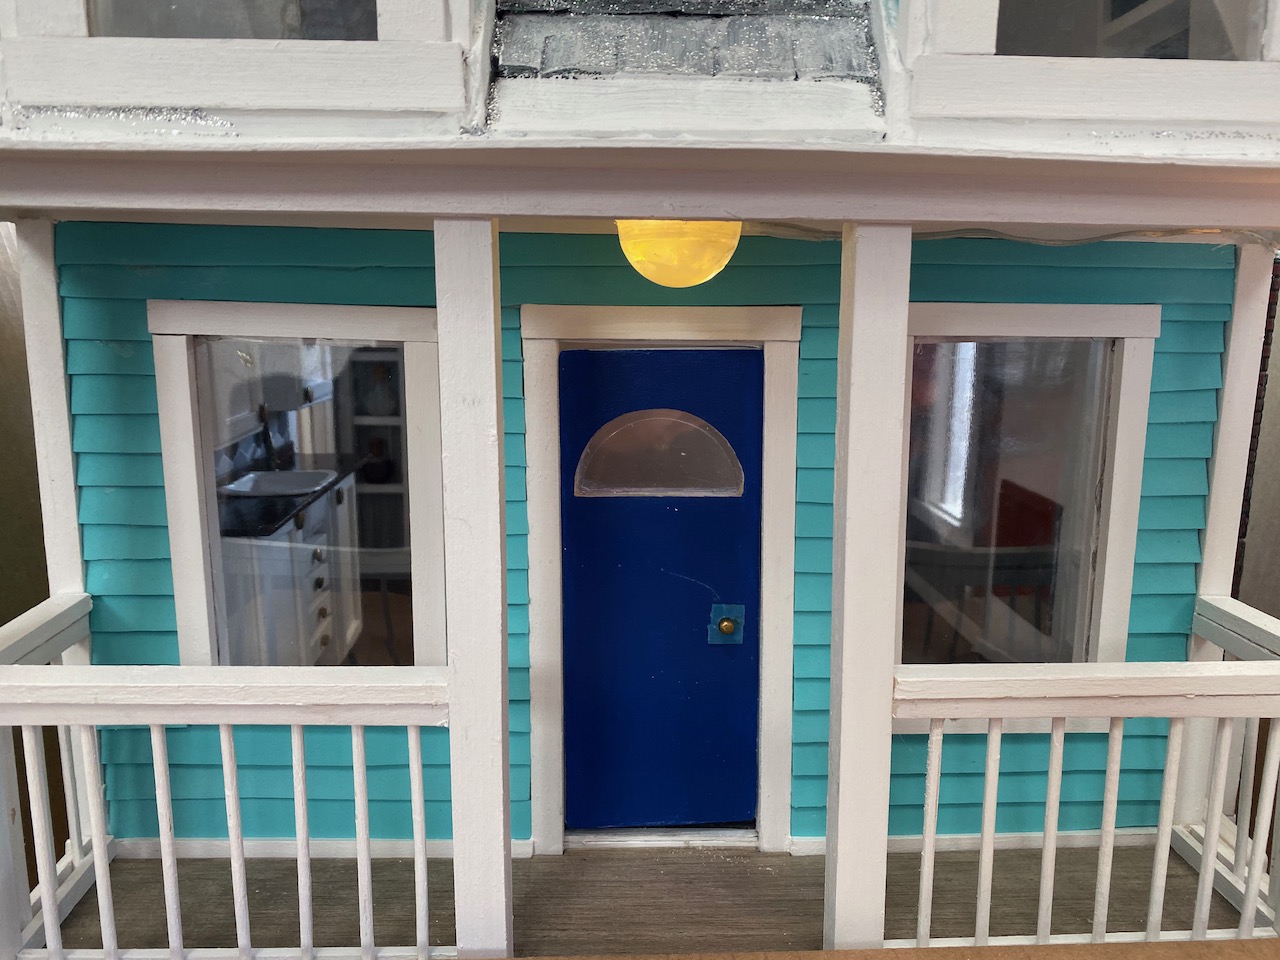
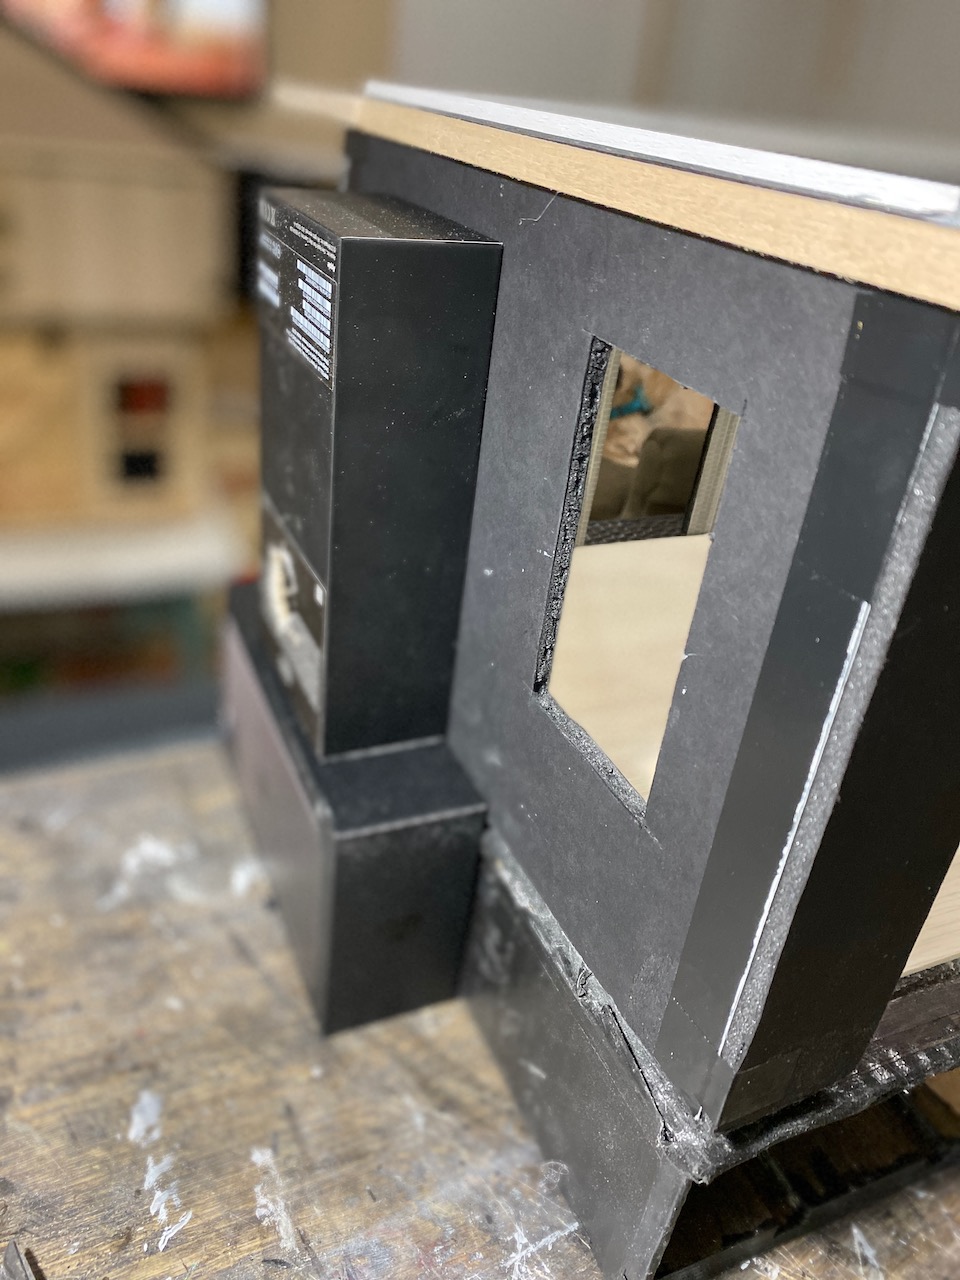
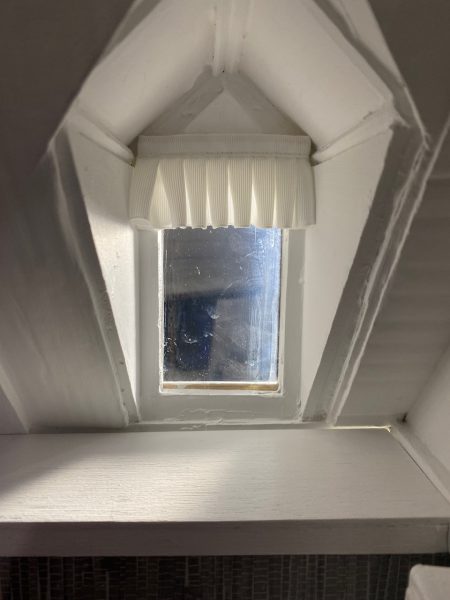
Since I didn’t know what the back of the house was like, I decide on a large floor to ceiling window. 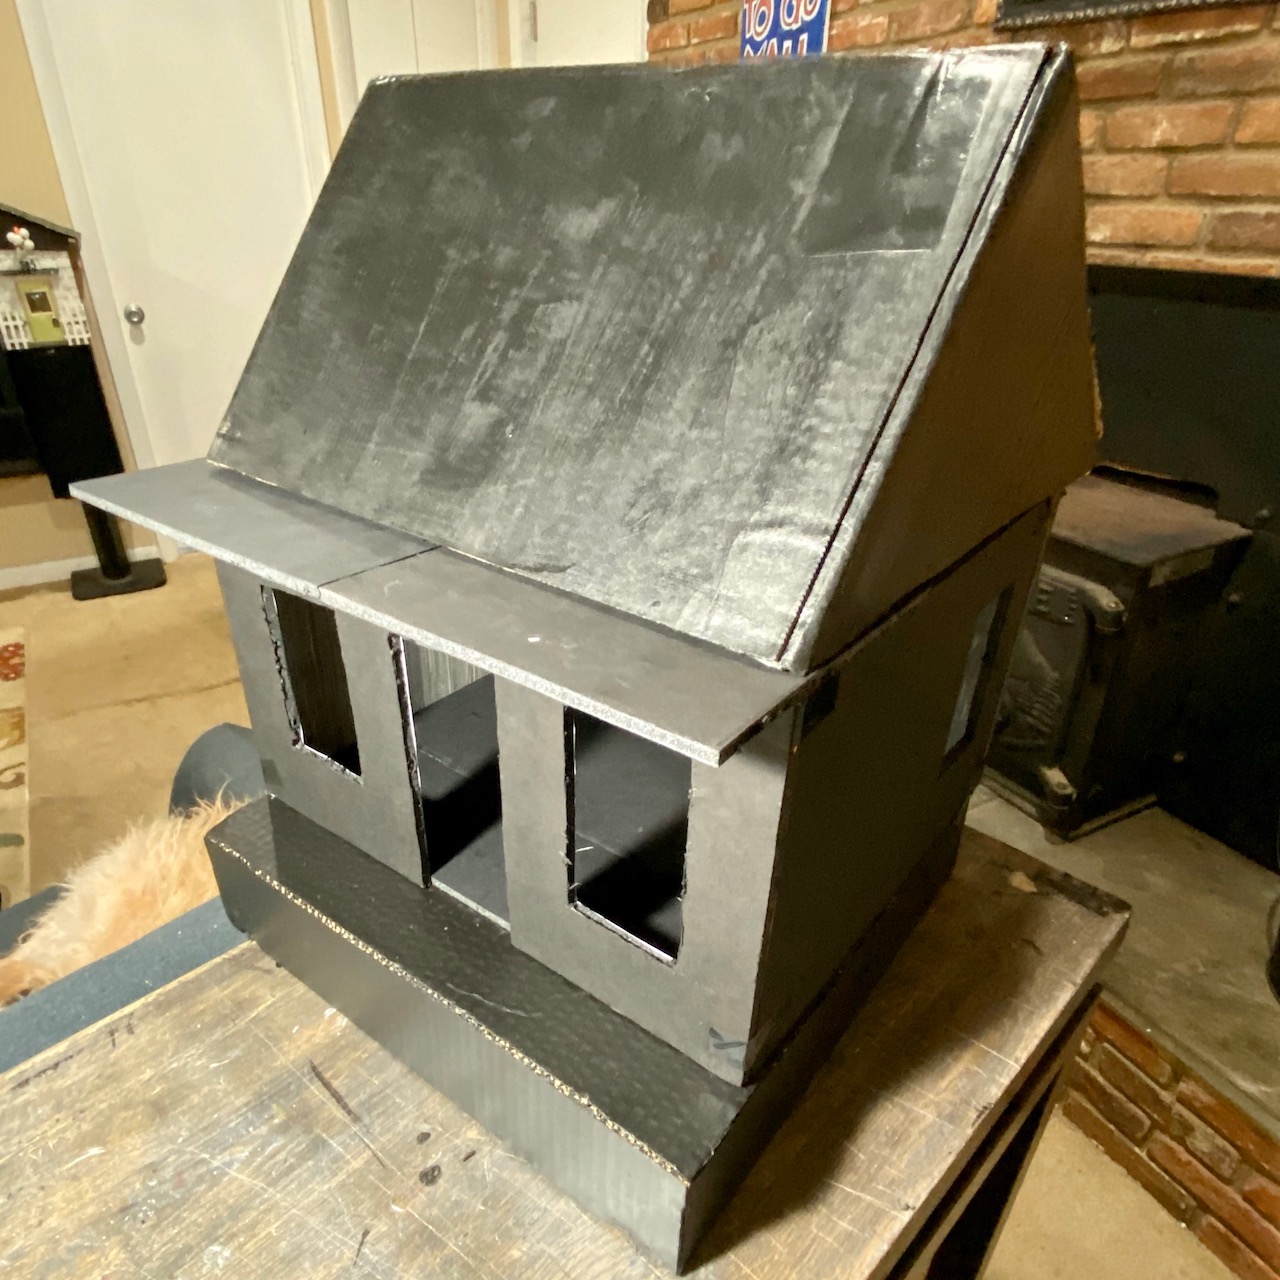
I build the roof from the corner of a cardboard shipping box and make sure all the components fit together well.
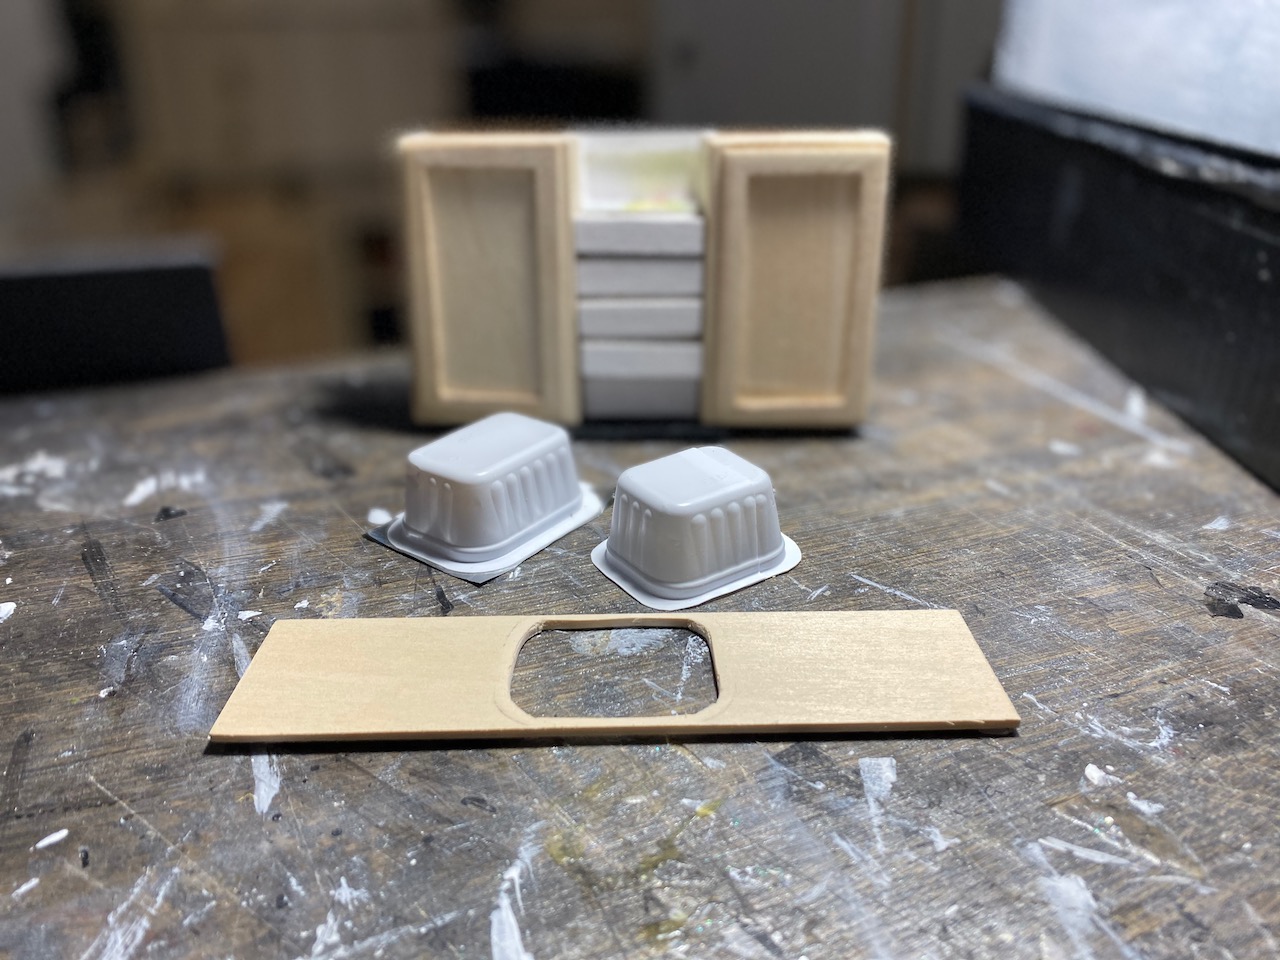
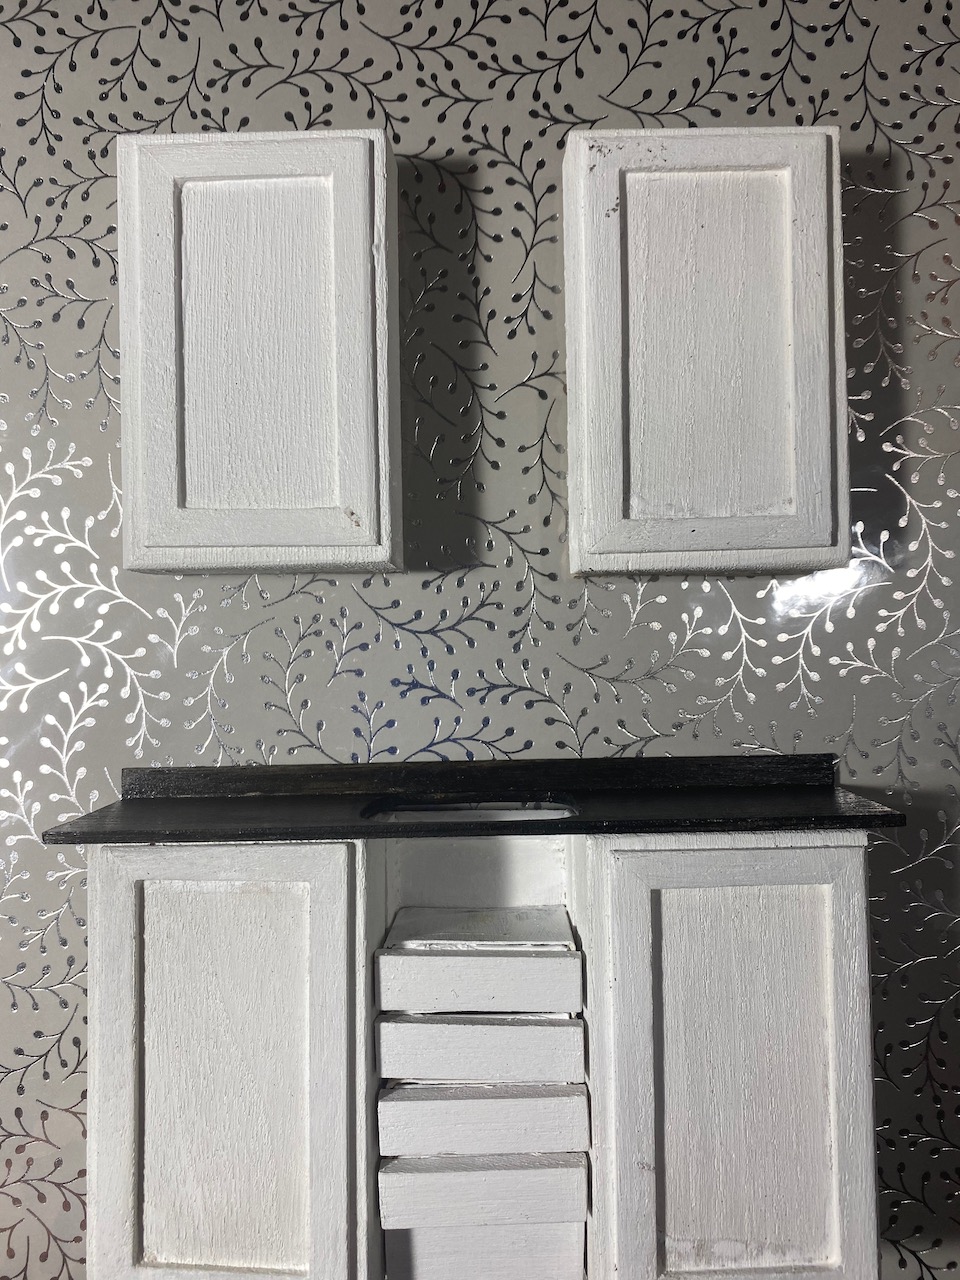
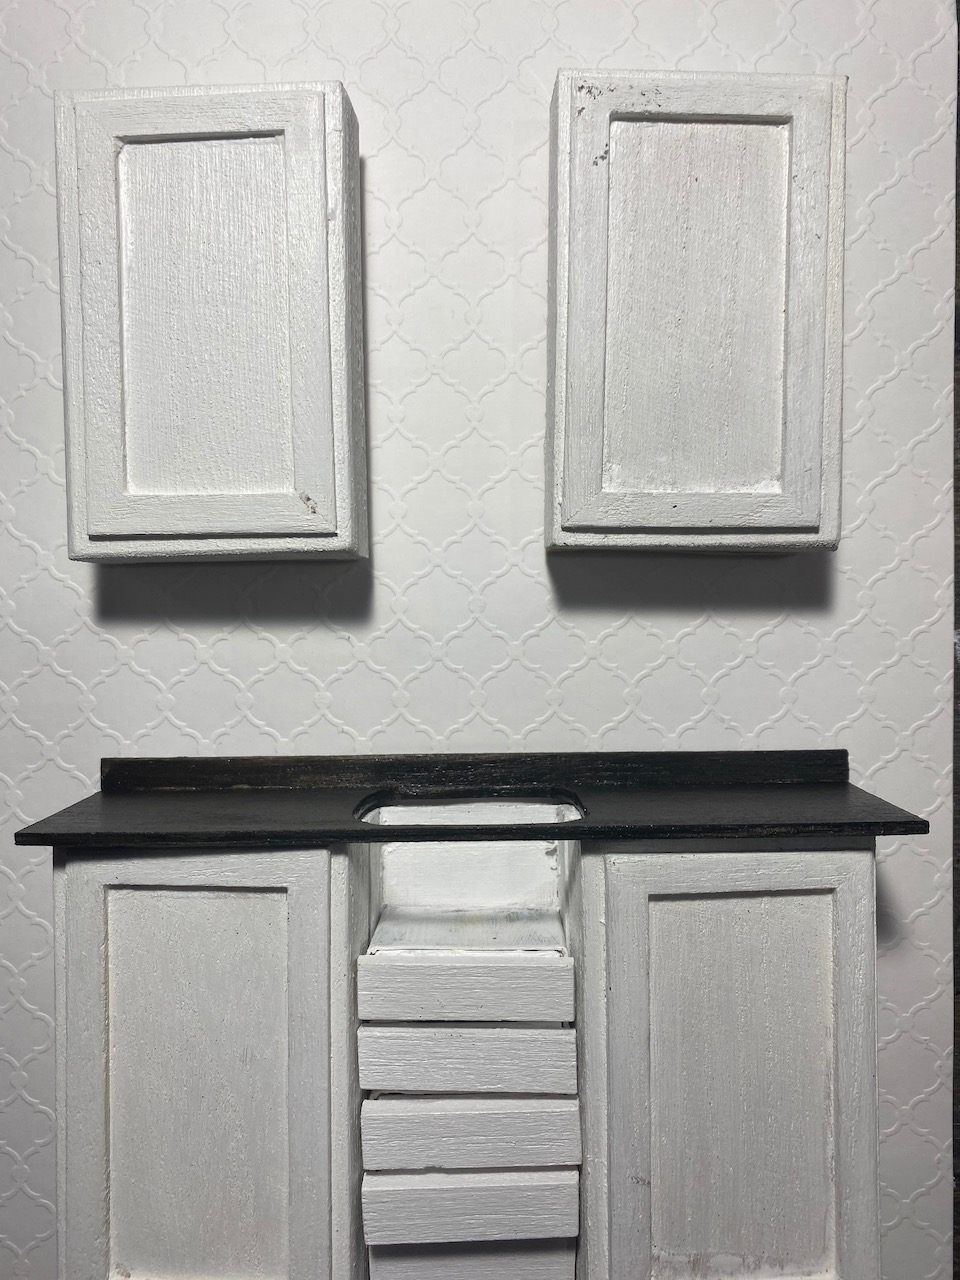
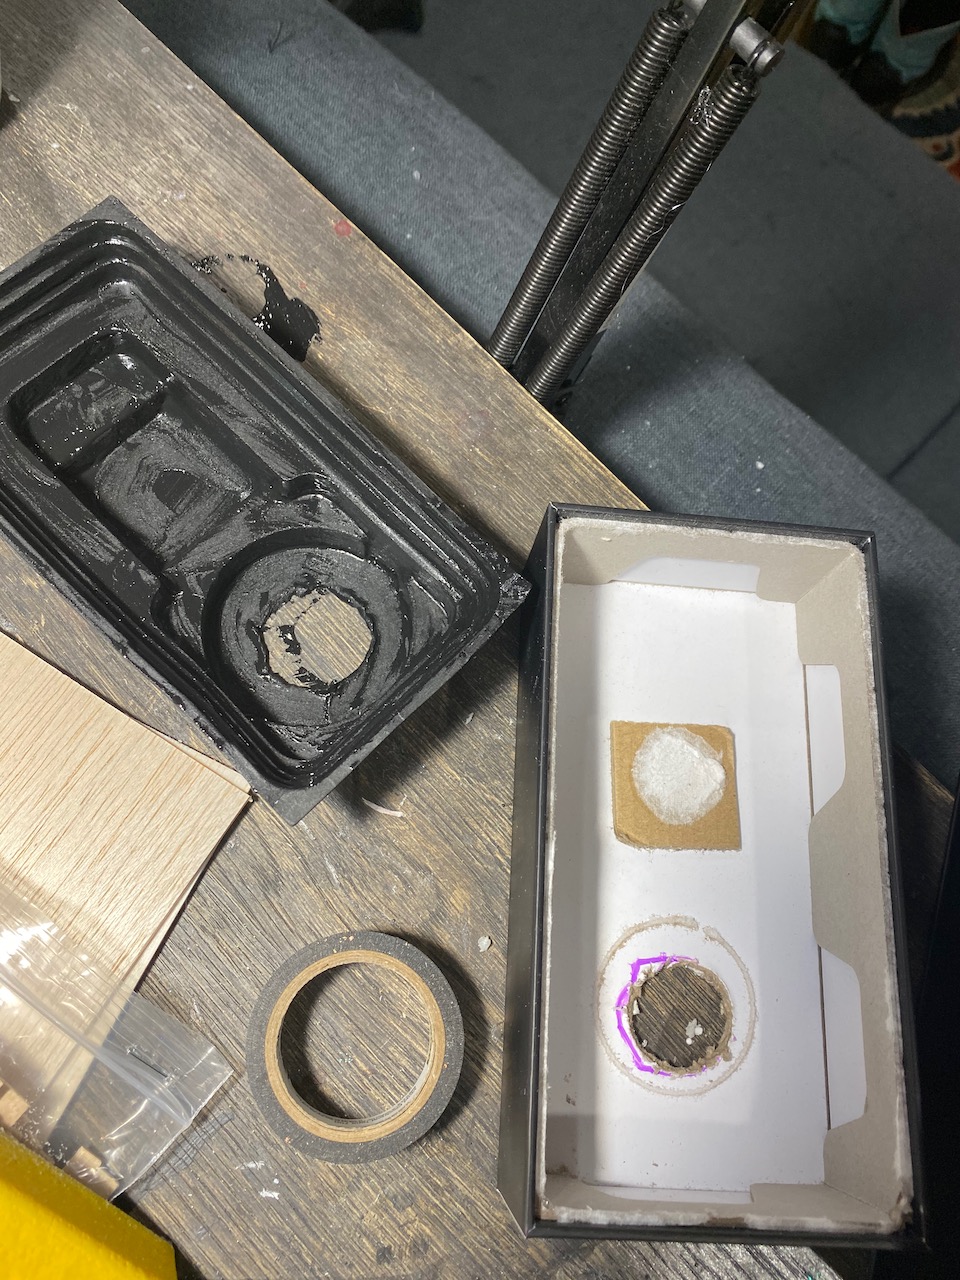
I install interior trim, then build a kitchenette using small hinged craft boxes, match boxes, and a chicken nugget sauce cup for the sink. I’ll figure out the faucet and cabinet hardware later.
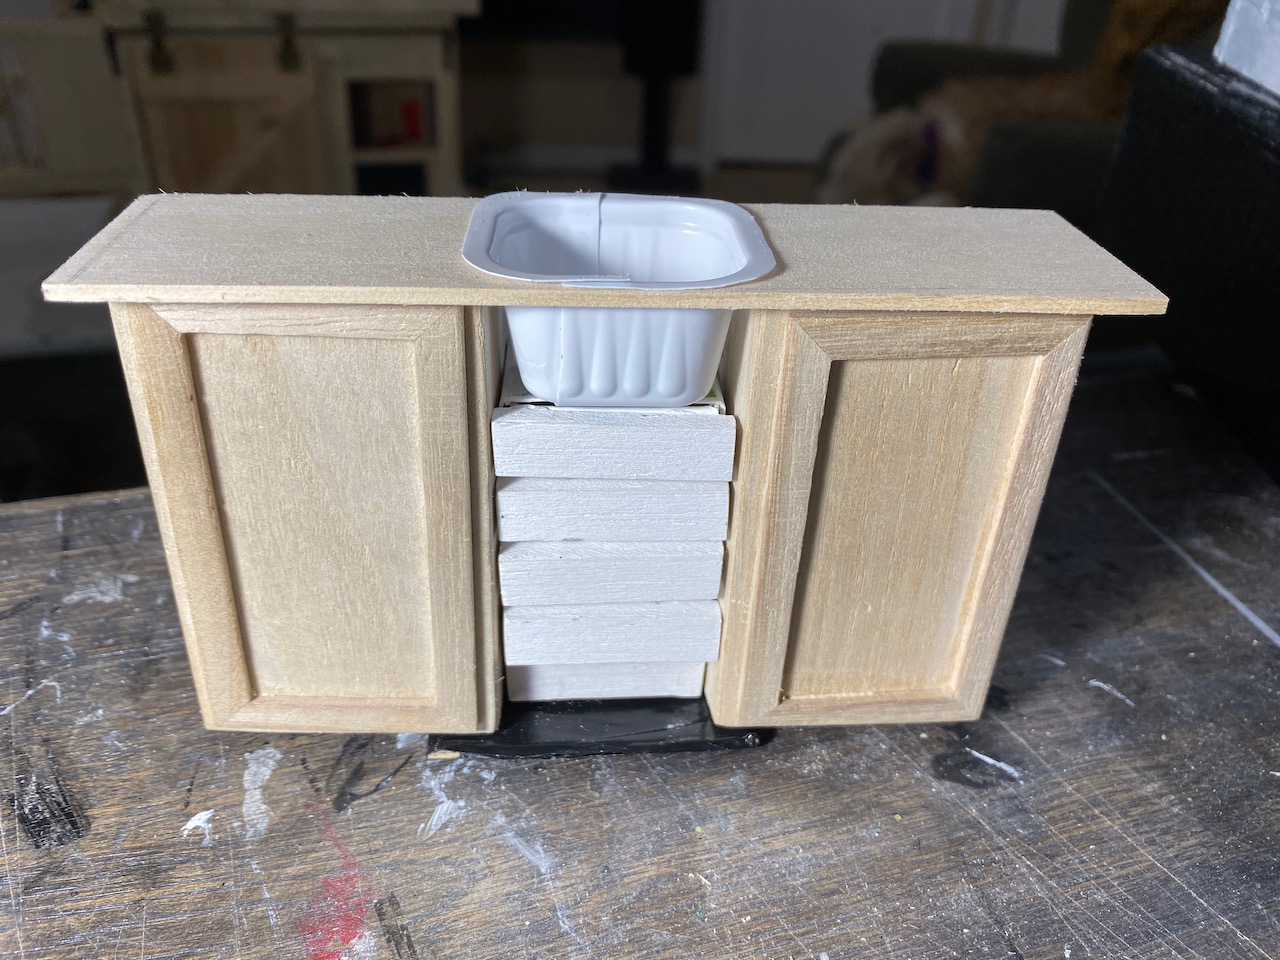
I stain the countertop dark walnut, now it needs a backsplash. Let’s try out some options!

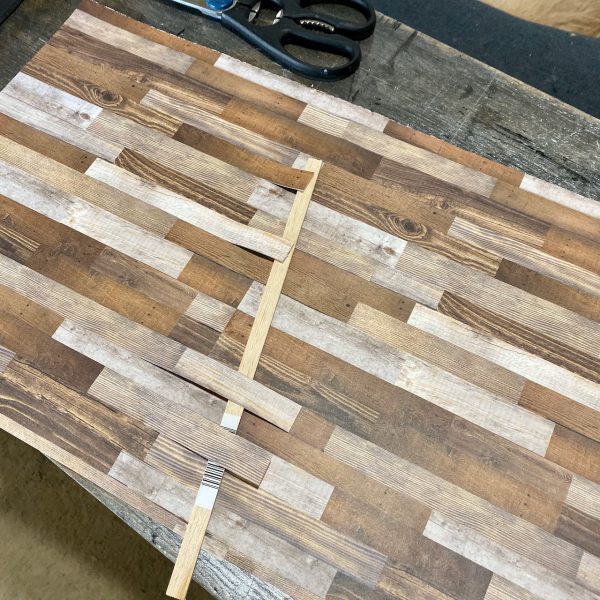
The floor vexed me. Initially I used wood patterned paper (which wasn’t wide enough, so I “stitched” 2 sheets together), but it looked only ok so I installed wood and stained it dark walnut. I like the idea of it, but not the reality. Maybe it’ll grow on me, but for now, it’s time to build the dormers and finish the roof component.
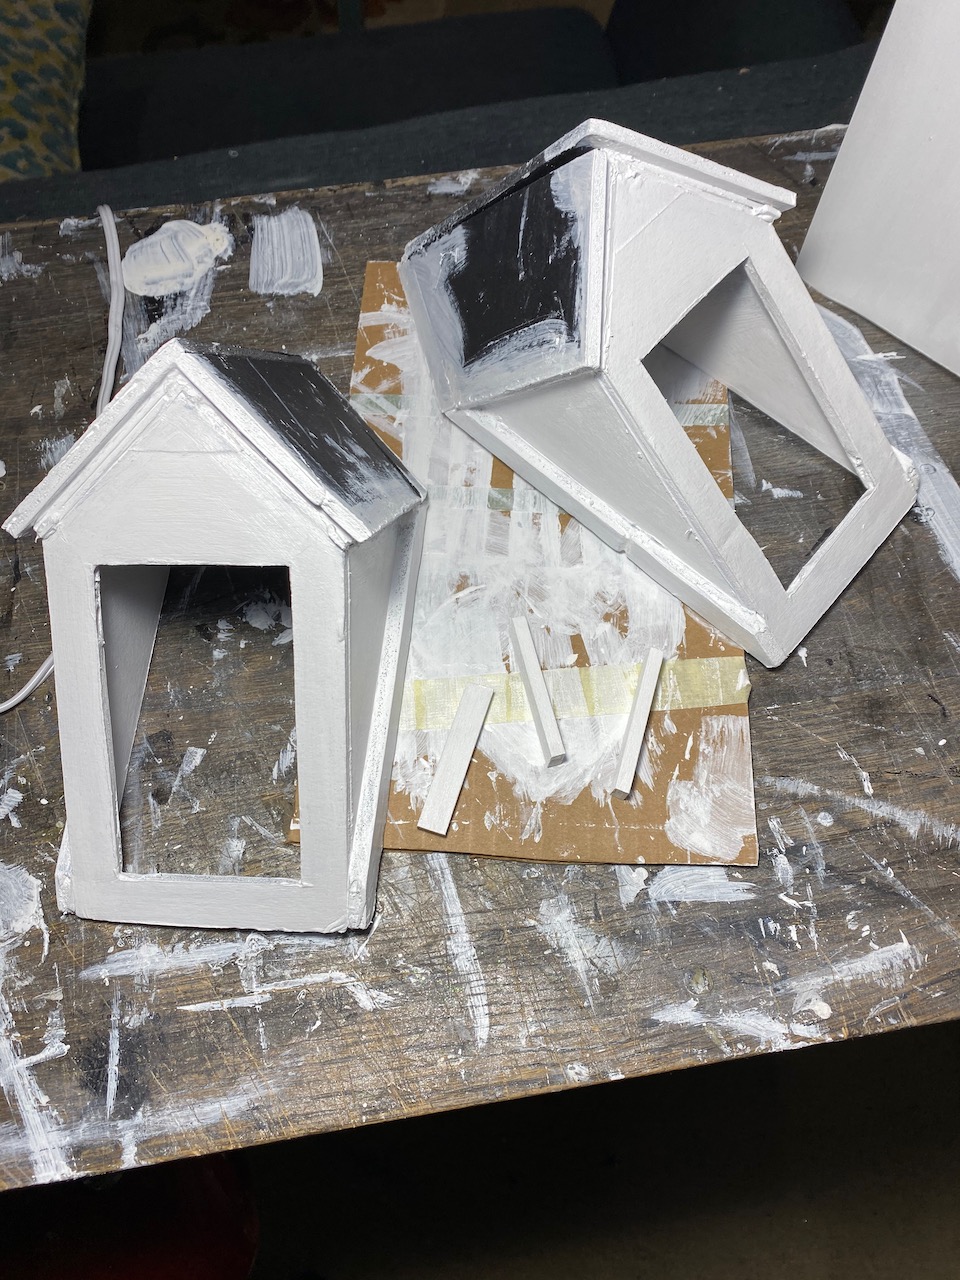
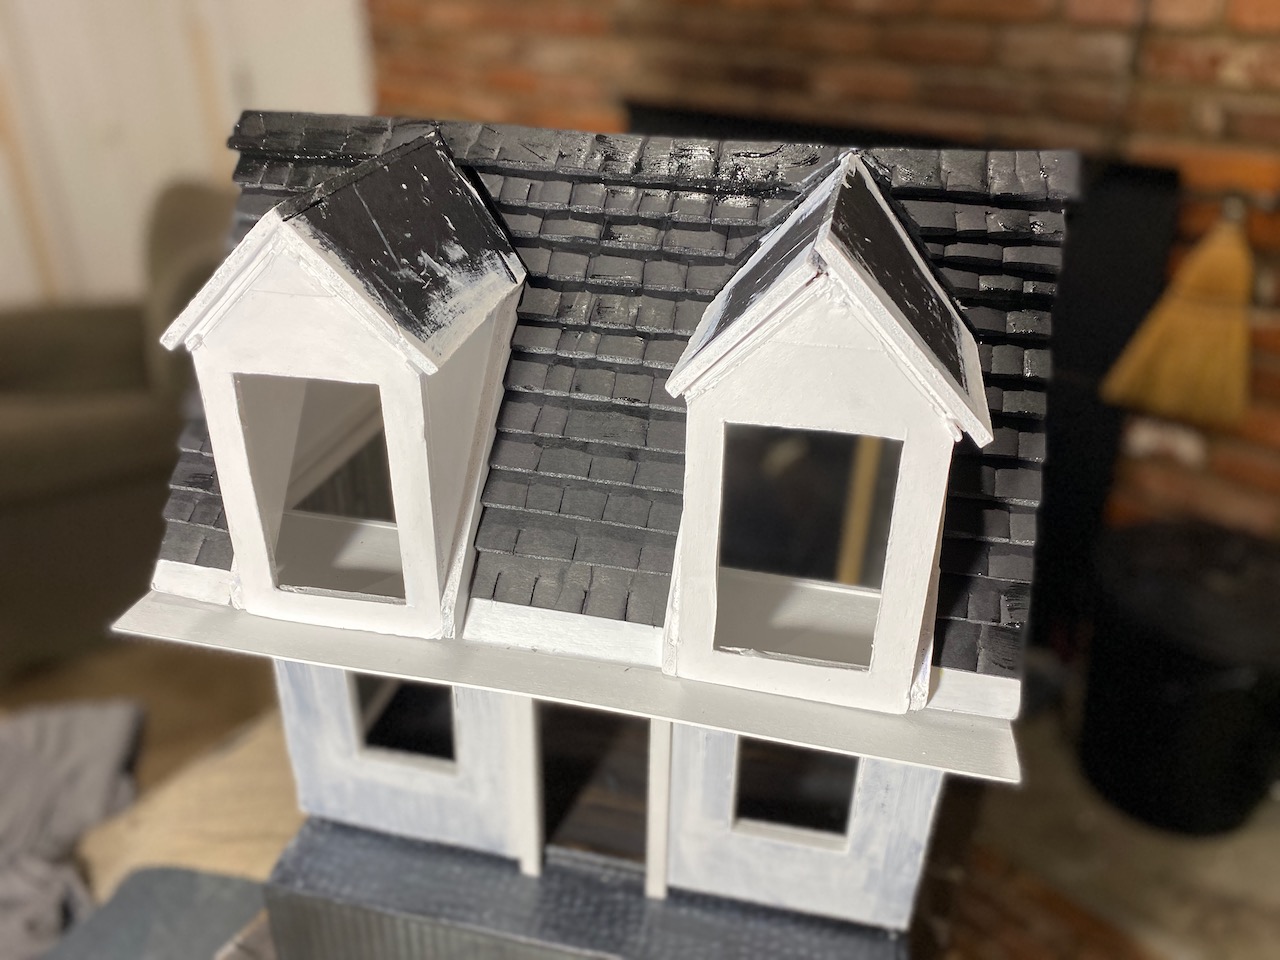
assembled dormers 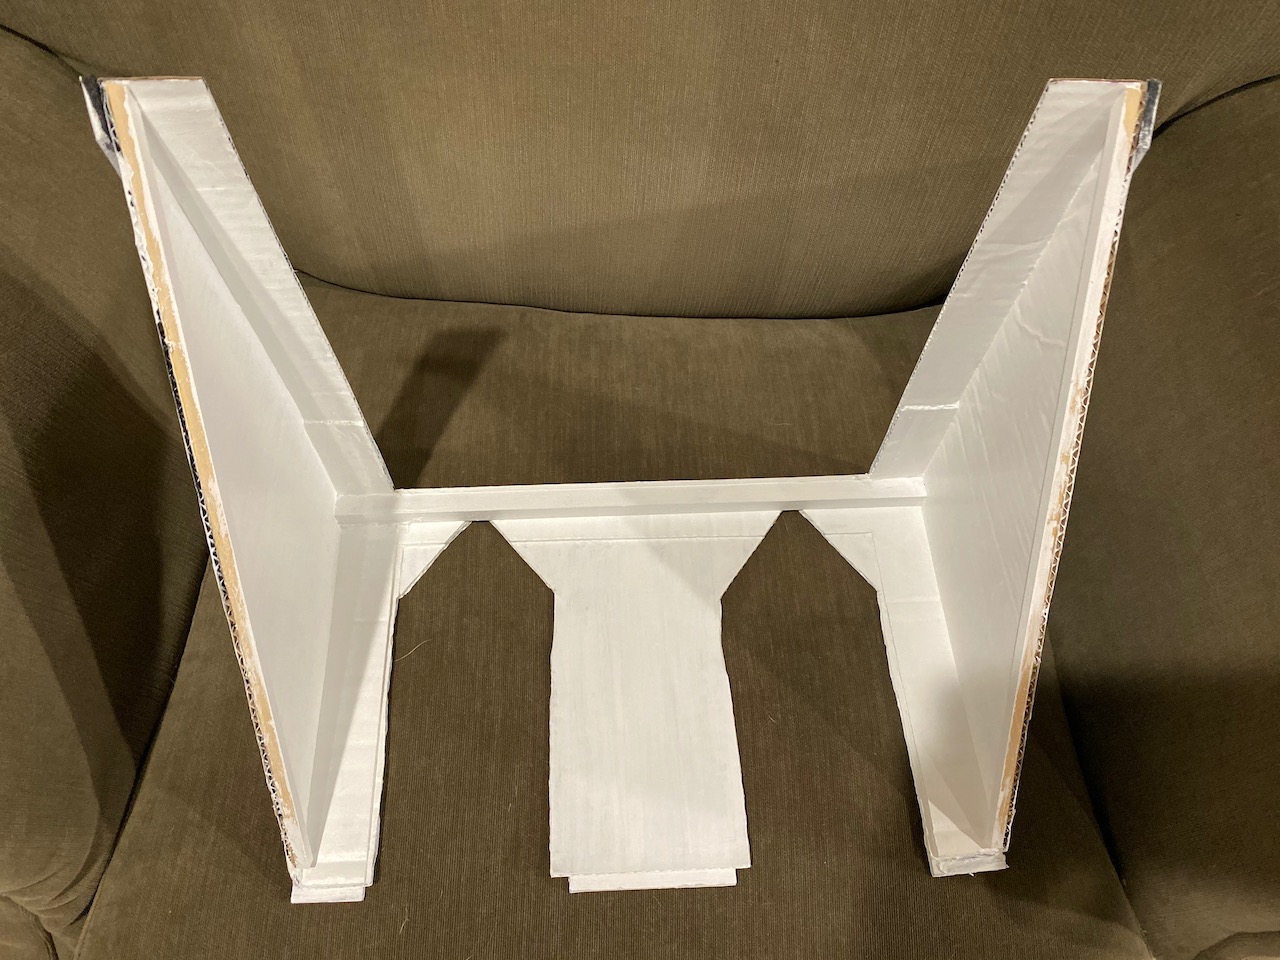
dormer holes in the roof 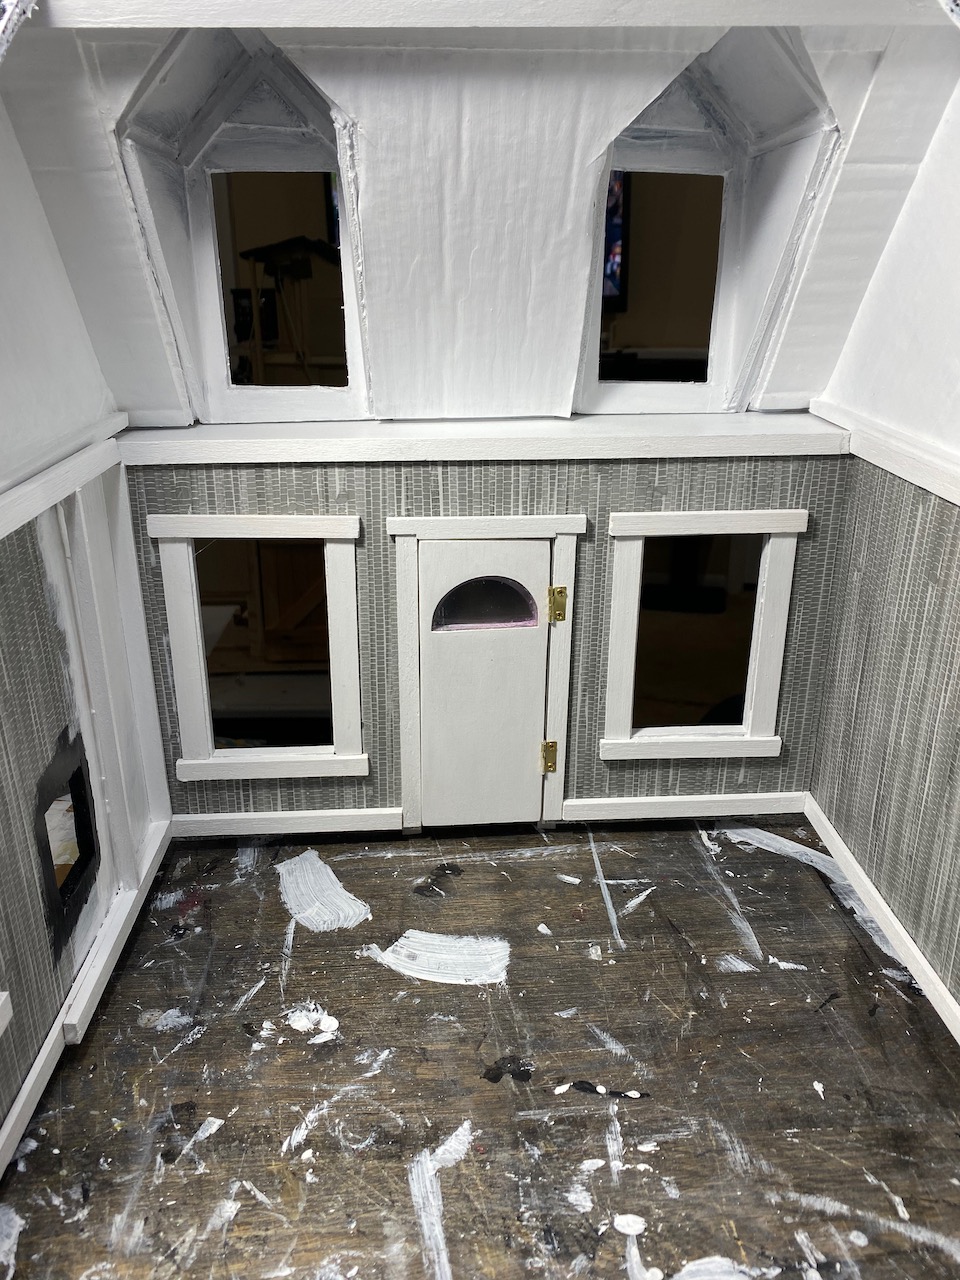
dry fit
Cutting up the roof up is a scary part, it’s very flimsy at this point. I dry fit the parts and they line up well! The house is taking shape!
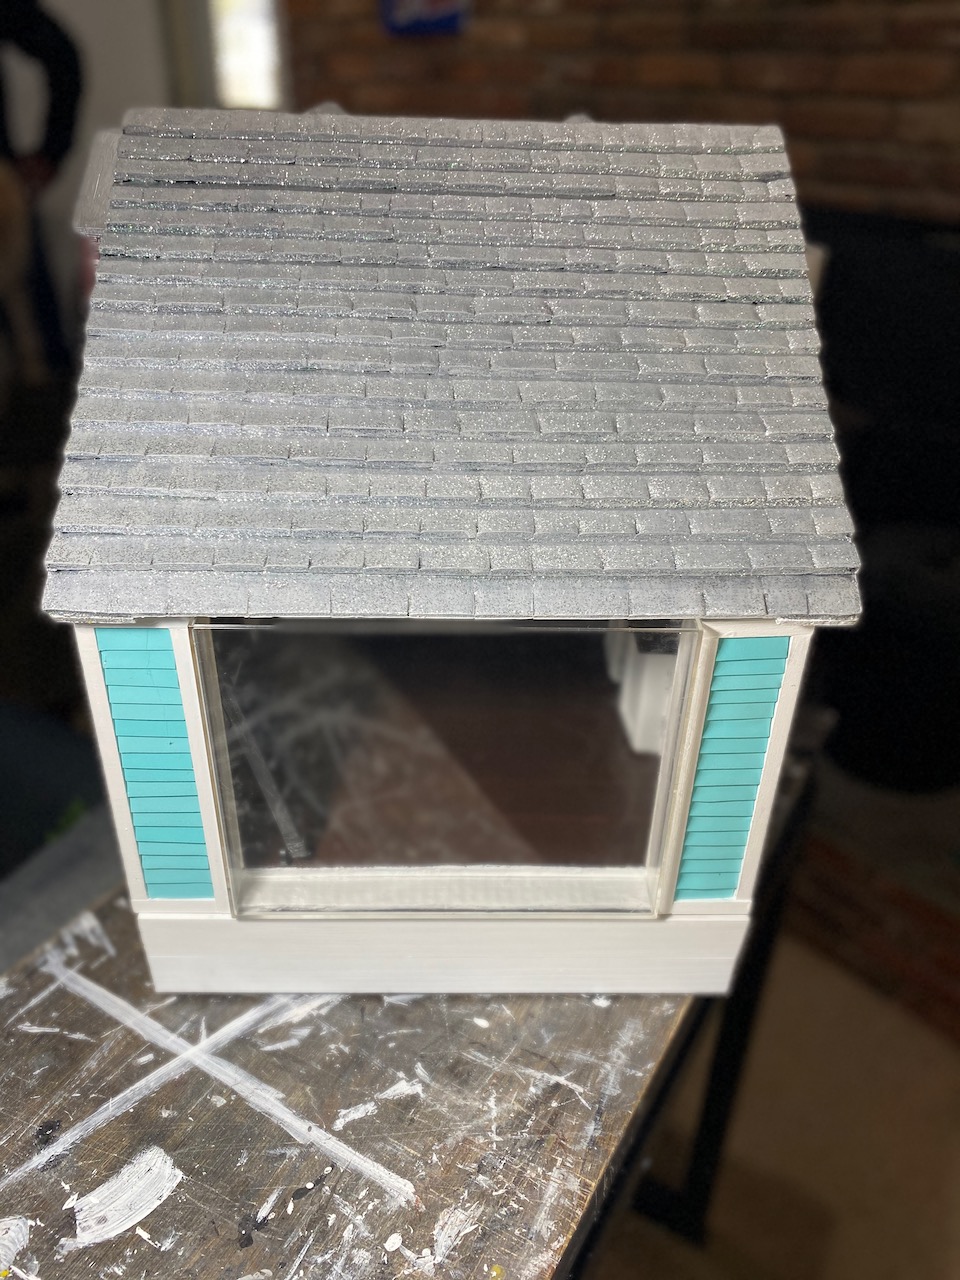
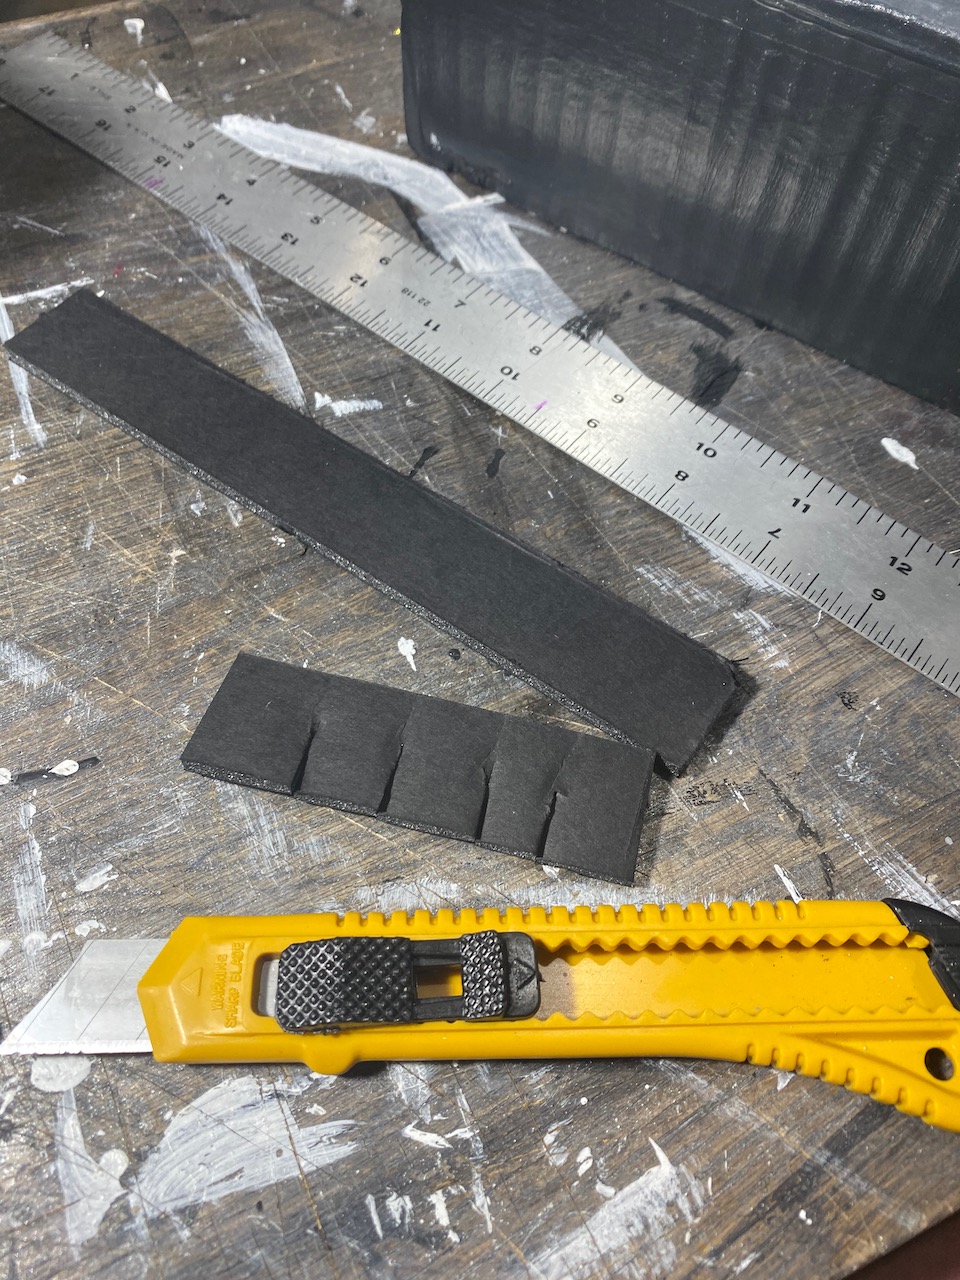
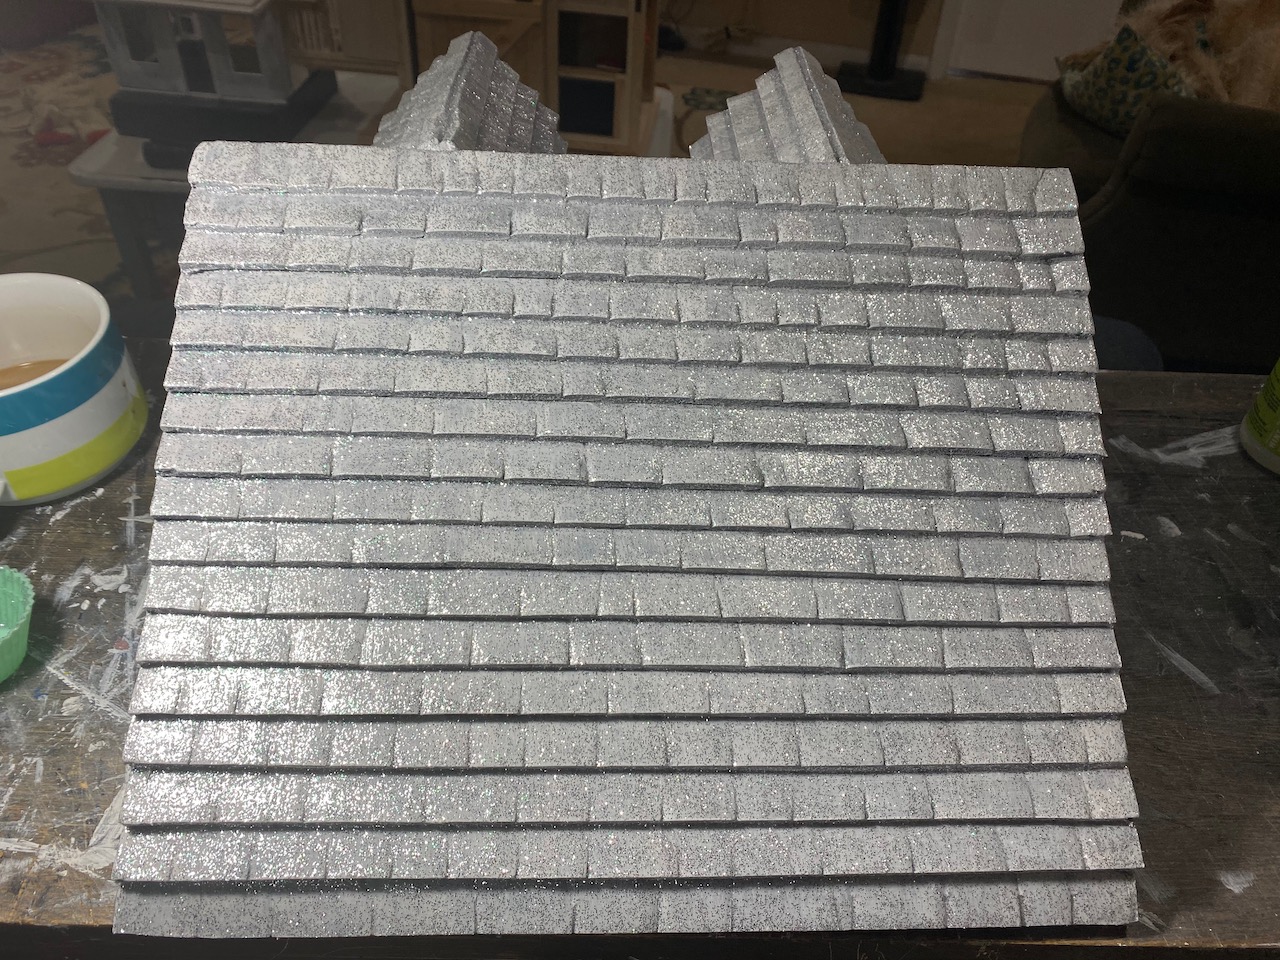
To make shingles, I cut 1″ strips of craft foam board, then fold them sort of randomly, then cut each fold just a tiny bit to create the right look. Use hot glue and overlap each strip a little bit.
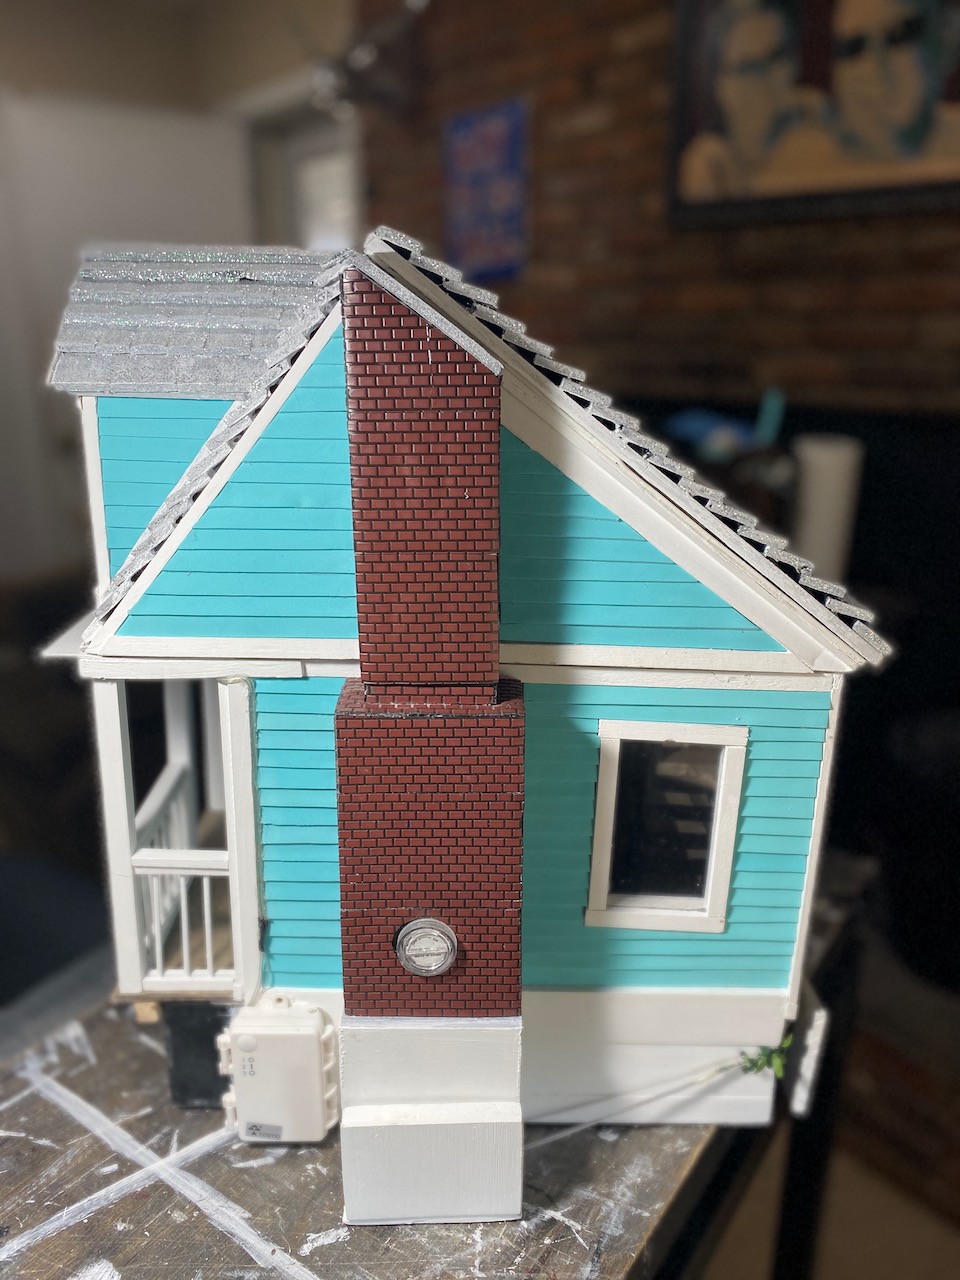
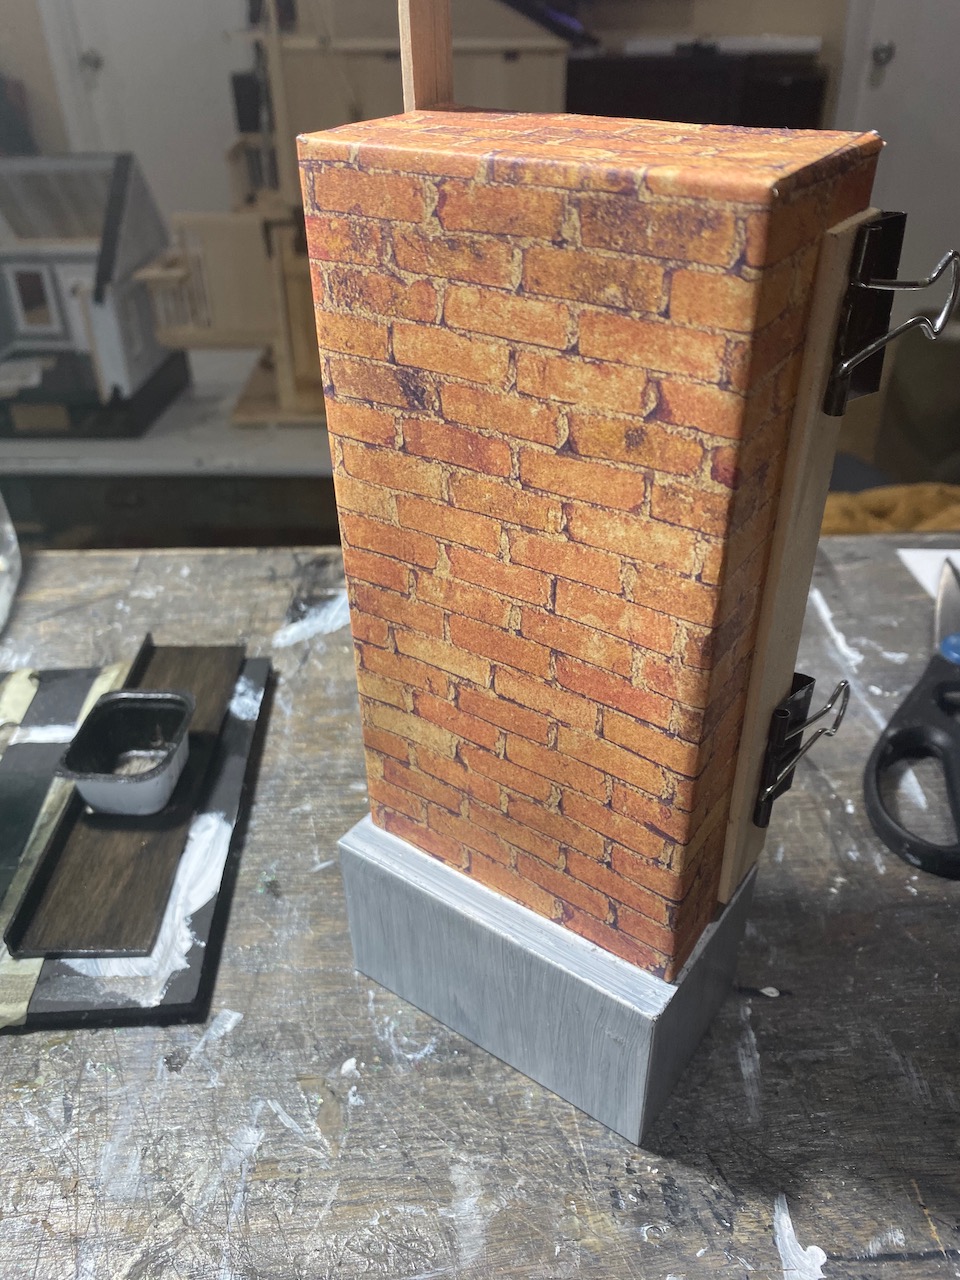
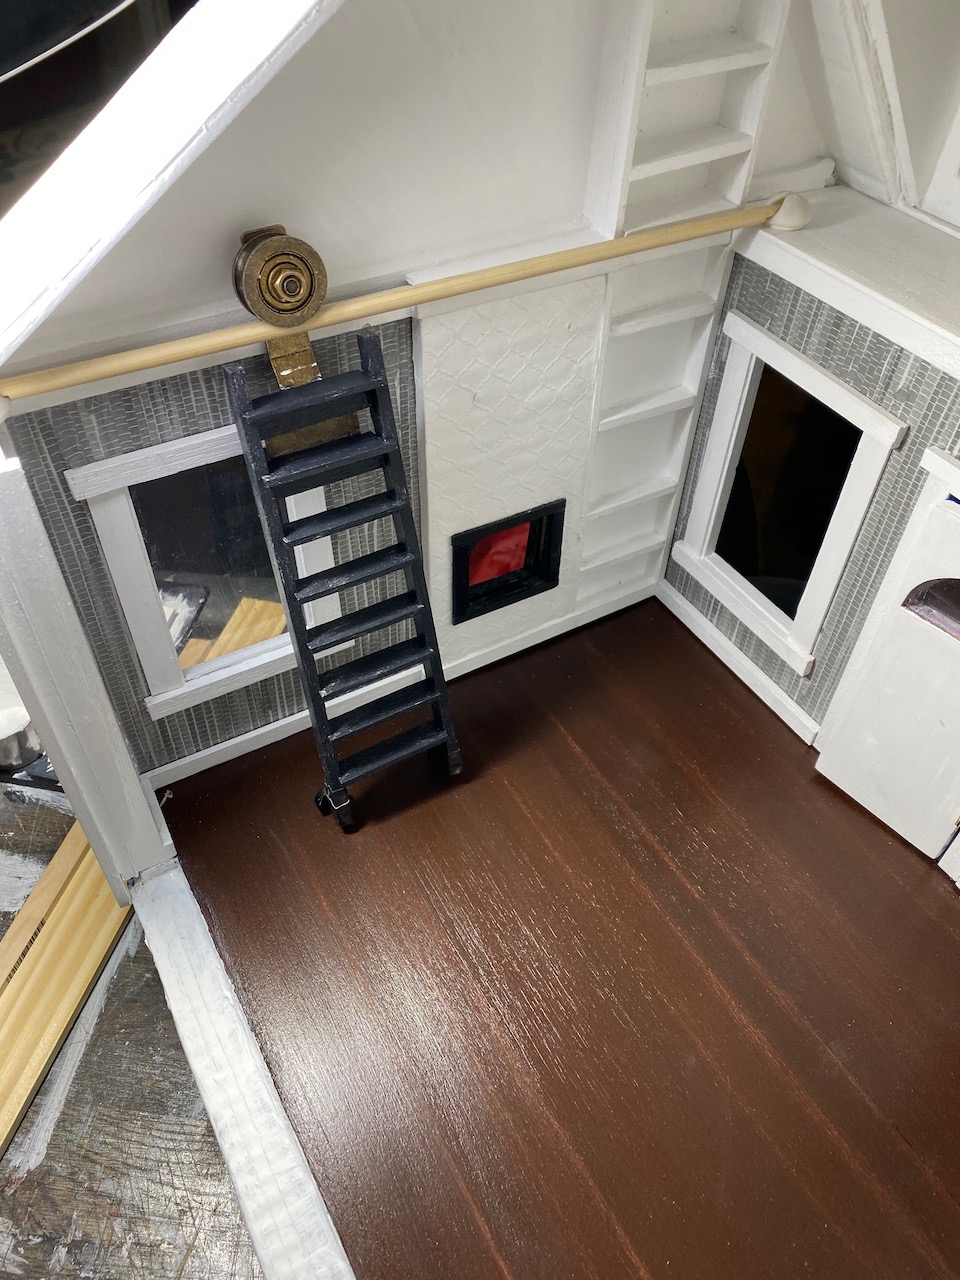
Now I focus on the fireplace and chimney.
I create a mantel with a patterned paper, mimicking tile. The adjacent library shelves are only dry fitted.
It flickers nicely, but the color tone is cold, so I embellish the firebox with red marbles to make a warm glow.
I trim the fireplace opening in sleek modern black, and add a book-depth shelf above. I have started to extend the book shelves to the ceiling, and I will build a wheeled ladder to provide access.
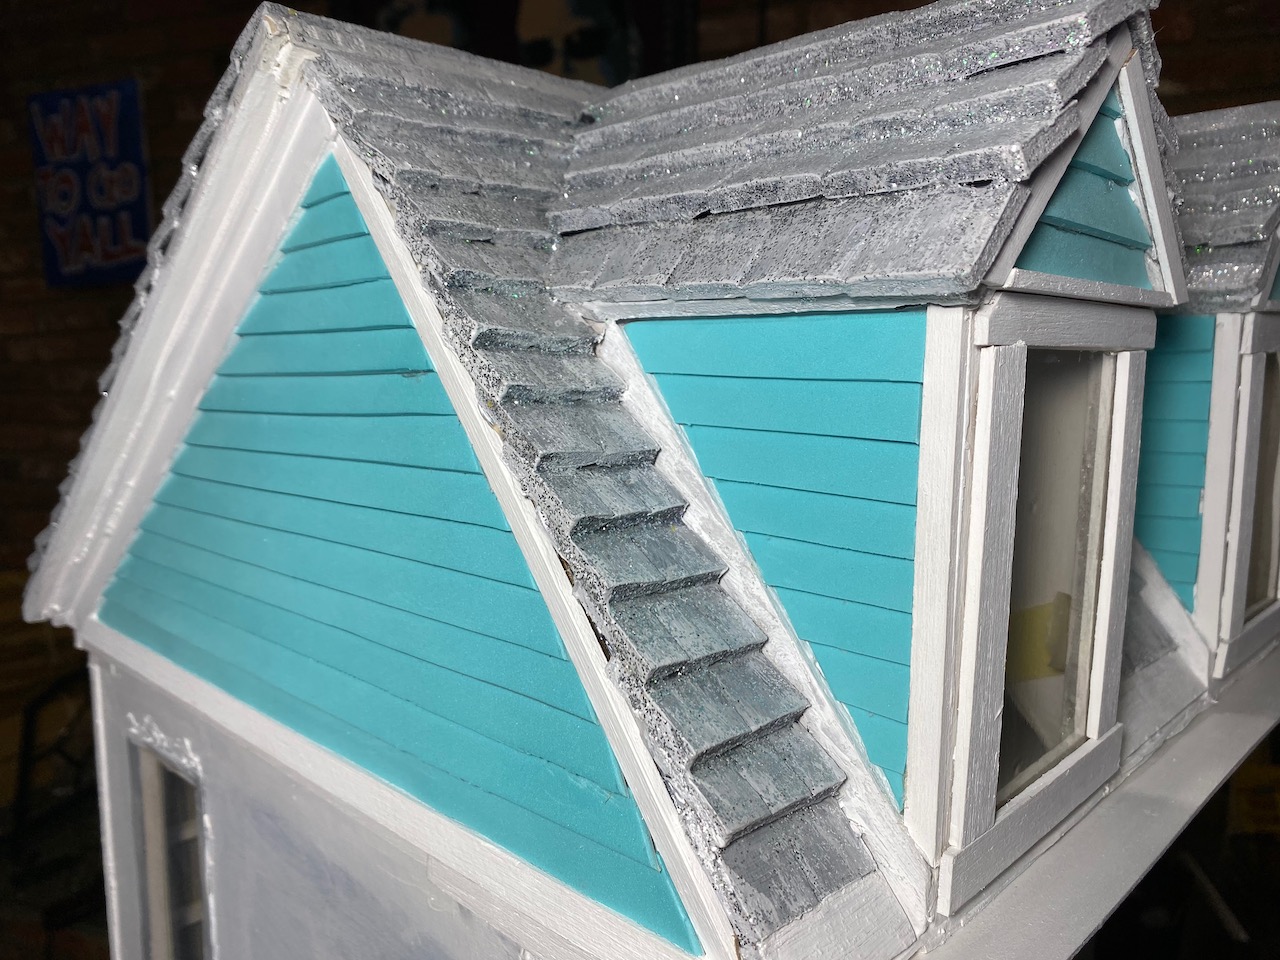
The shingles need to be light grey, so I use paint for color and glitter for texture and… well… because I like glitter. Glitter.

To make siding, I use craft foam which I spray glued onto thick paper, then cut into 0.5″ strips. I am anxious to see how it looks, and as soon as the roof trim paint is dry, I install it on the dormers and the non-chimney wall.
Very Satisfying!
The more I get done, the more there is left to do!
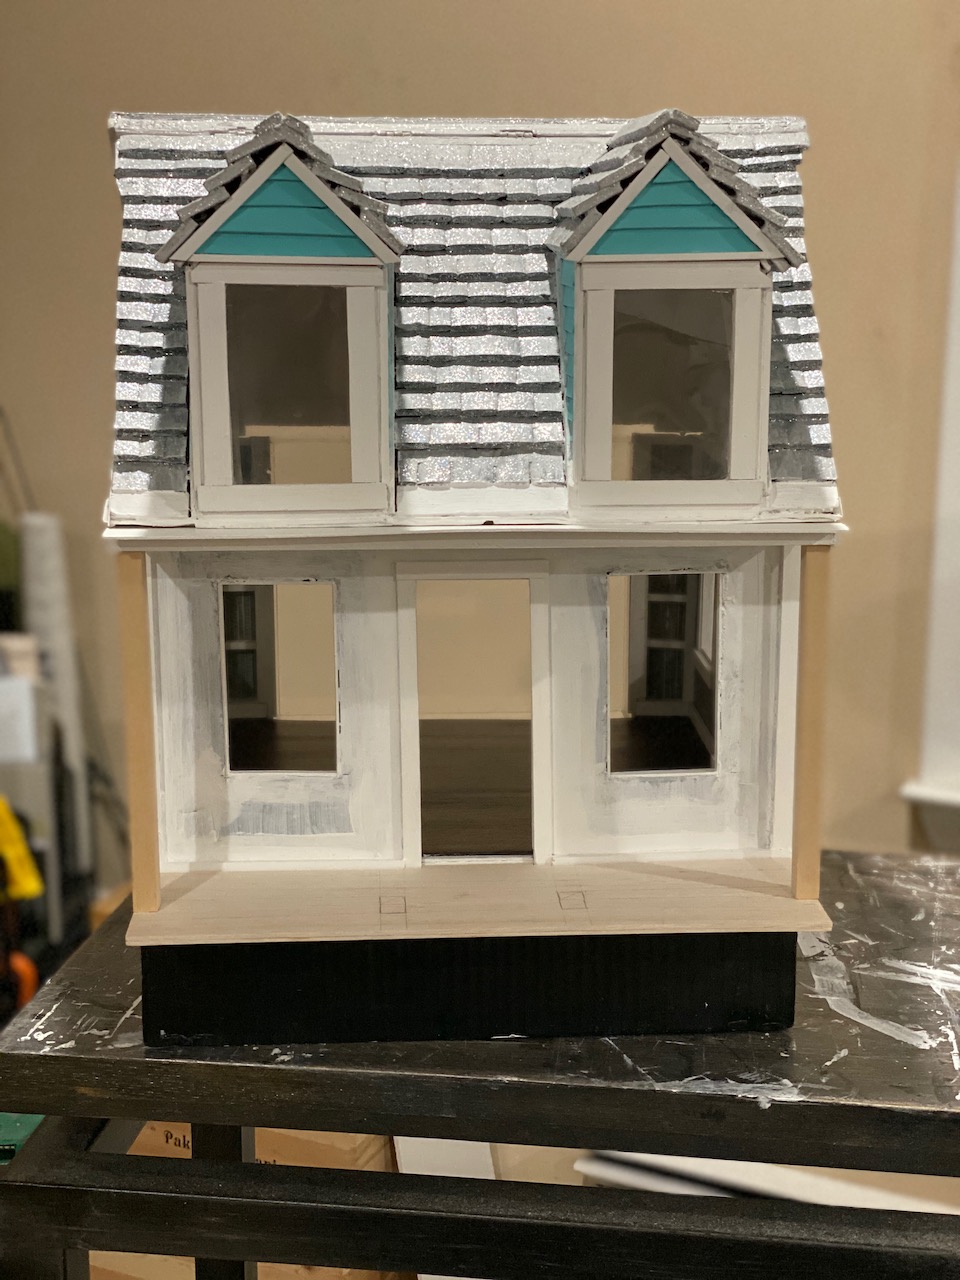
I start to build the porch only to realize that installing the siding after the porch will be a pain. I decide I must finish the parts needed to start siding the main floor exterior. I want the roof unit to be permanent, and before I make the roof permanent, I want the interior details finished.
I stain the floor a warmer, lighter color and with a more satin finish, and I am finally satisfied with it.
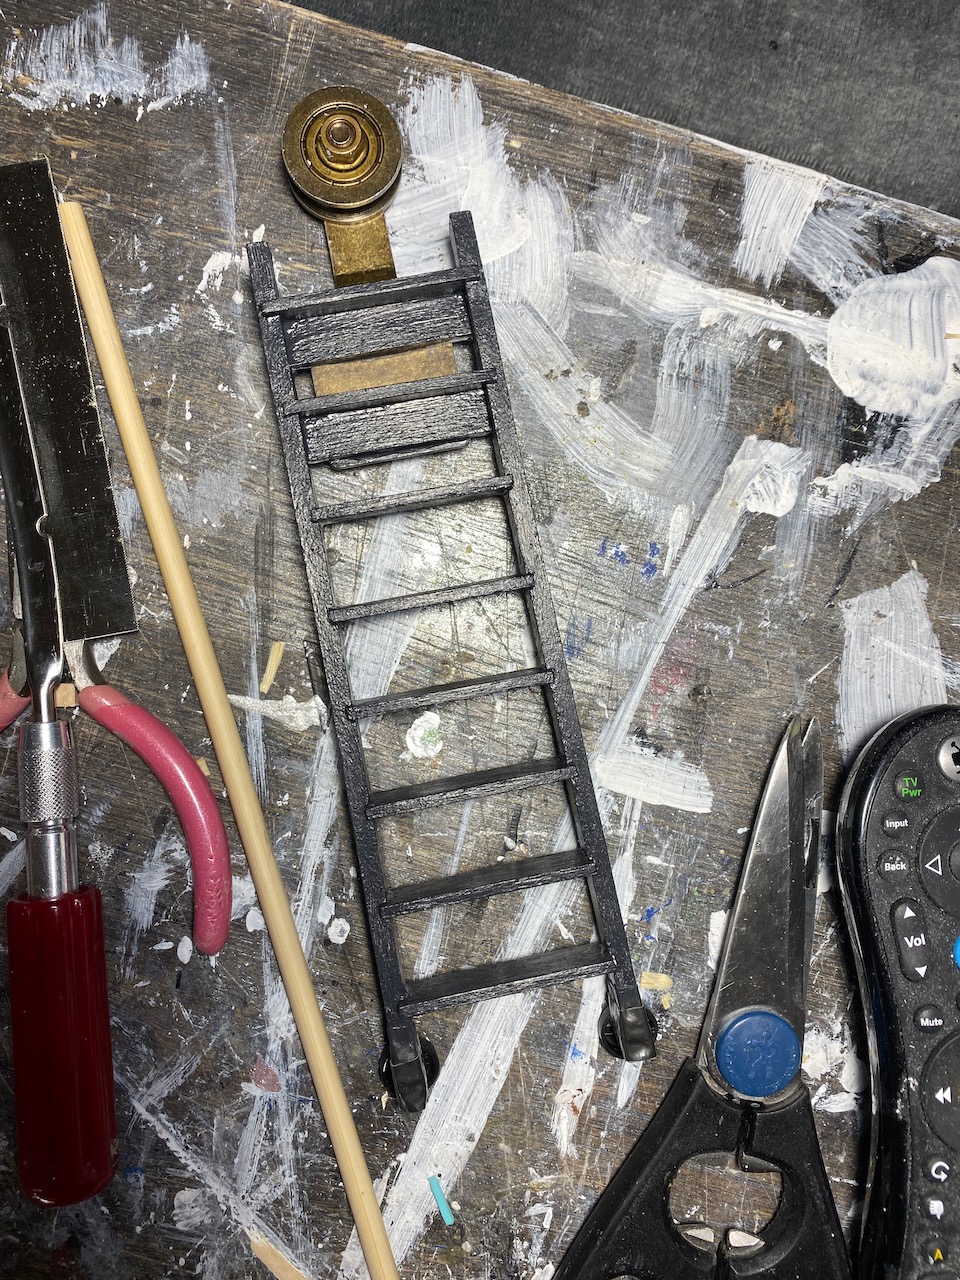
I build the wheeled ladder with bass wood, wheels harvested from a matchbox car, and a leftover barn-door part from the little-big-barn. The slider-pole thingy is made from a knitting needle.
I always assumed there was a fancy name for a wheeled library ladder, but there doesn’t seem to be, so I made one up: it’s a portmanteau of “library” and “pony”
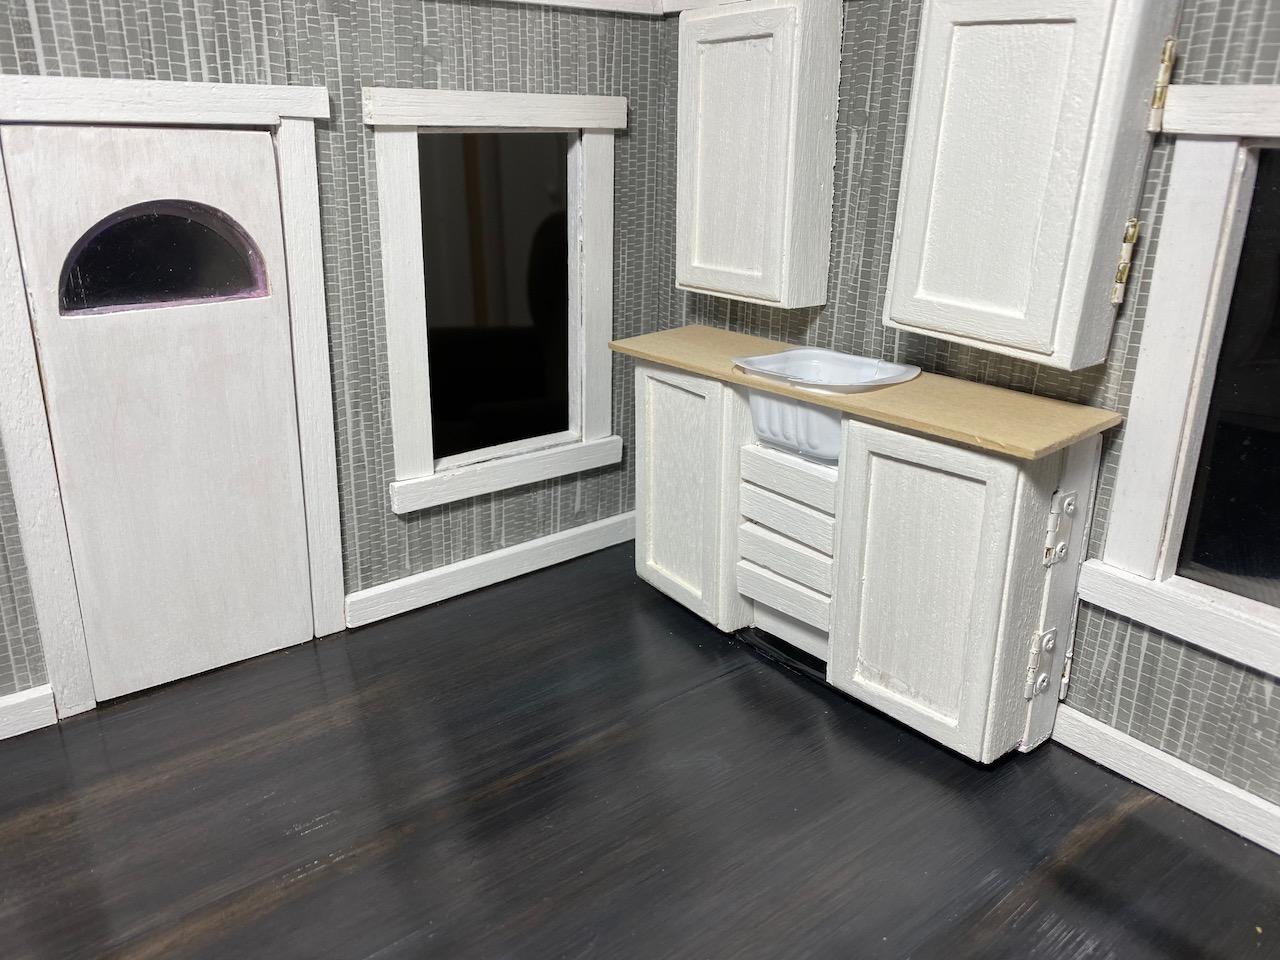
To finish the kitchenette, I make a mug hook kitchen faucet and use rivet parts for cabinet hardware. A tiny USB rechargeable flashlight becomes a pendant light.
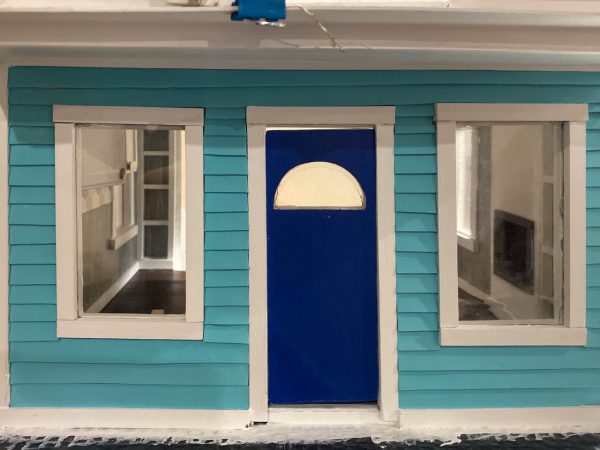
Front door hardware finishes up the entry nicely.

I use ribbon for curtains in the dormers and add books to the upper library shelves.
The vertical trim between the dormers hides the electrical wiring which connects the ceiling lights to the porch light and the light switch.

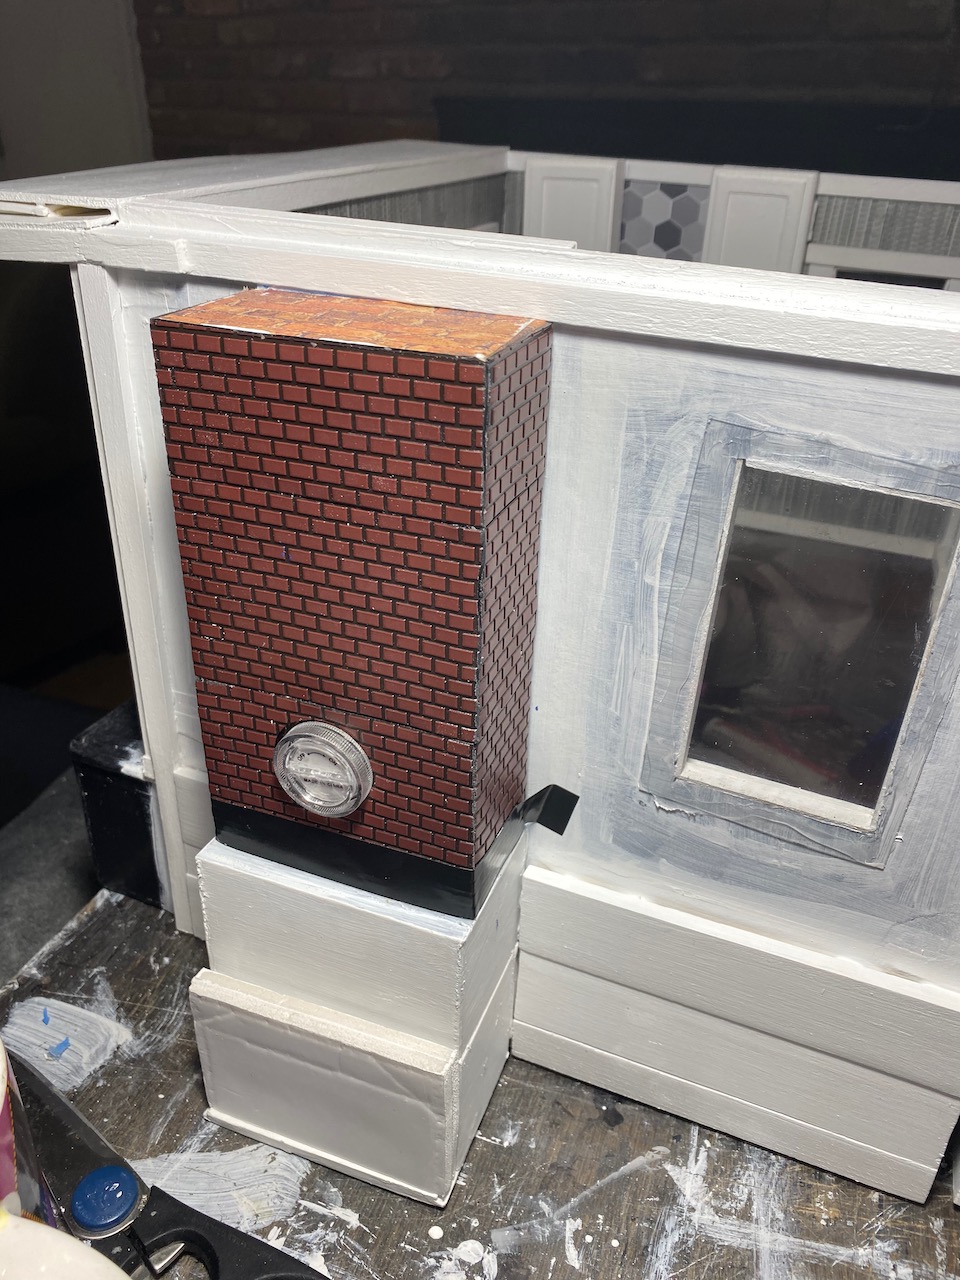
I decide that the paper brick on the chimney isn’t what I want, so I apply a brick pattern plastic which is used usually in a miniature locomotive setting. The bottom-most part of the chimney is a little drawer to hold fireplace batteries.
I install wood skirting around the base of the house and paint it white.
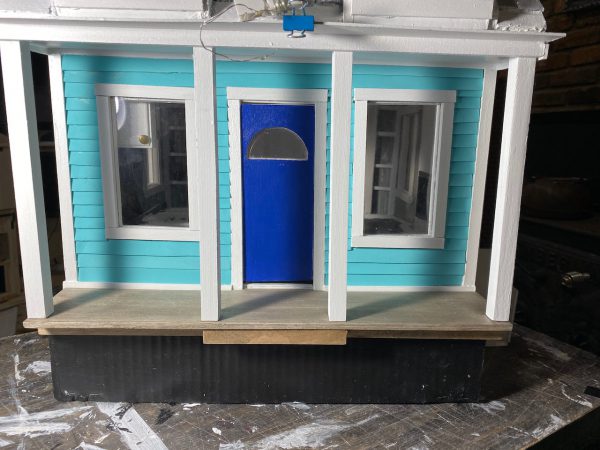
With the chimney in place, I start to install siding. It goes quicker than I expected and before long I start to build the porch. I use a sheet of basswood stained grey and some white painted basswood for the rails and stiles.

I want to hug this house so hard. It could be because I am deliriously tired.
Just a few small embellishments, and the house is done.